|
Hangar Construction Project
Added
1/8/10 , updated 12/15/14. Click on any photo for a larger view.
Like many pilots, I had long dreamed of an airstrip in the back yard and a hangar next to the house.
With the house almost done, in 2009 I began construction of a hangar at a
private
residential airstrip
in Virginia. To keep costs down, I did as much of the work as was
practical myself, as I did with the house. For those considering building a hangar, perhaps seeing
how I did it will be helpful. If you'd like to start at the
groundbreaking, go to the Hangar Project 2009
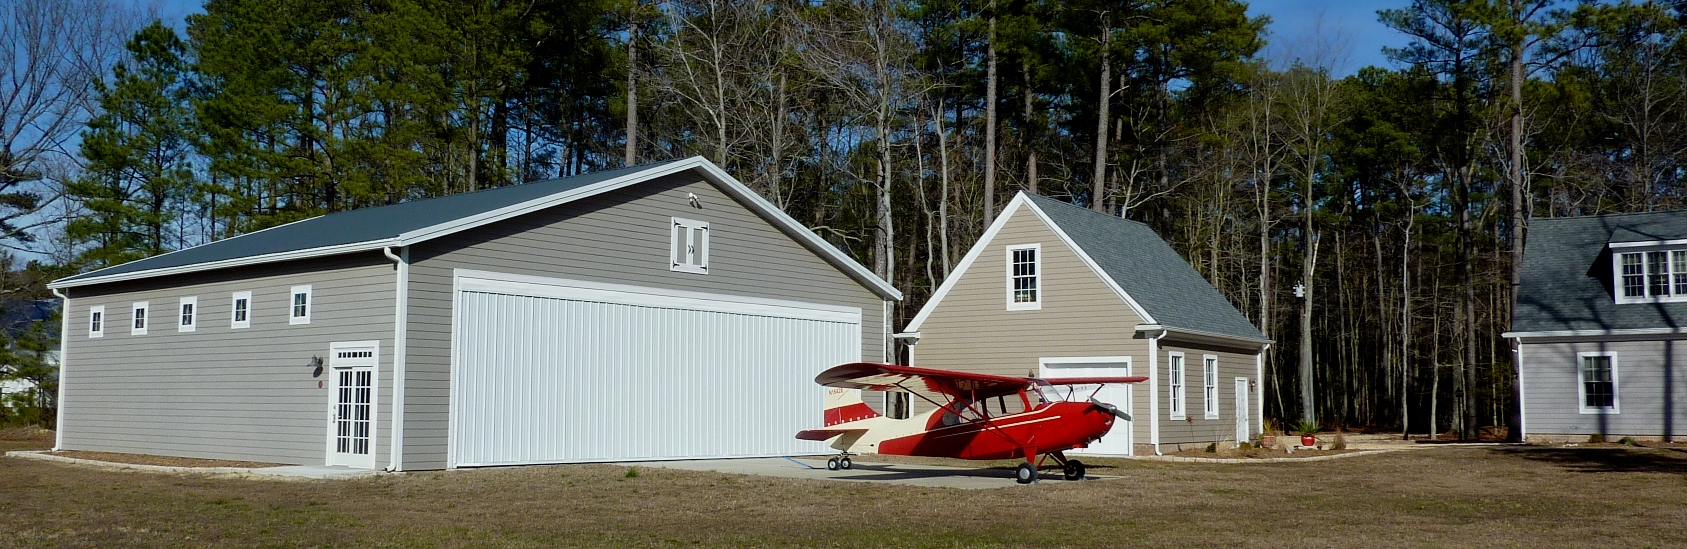
Archive page. The photo above was taken on March 10, 2013.
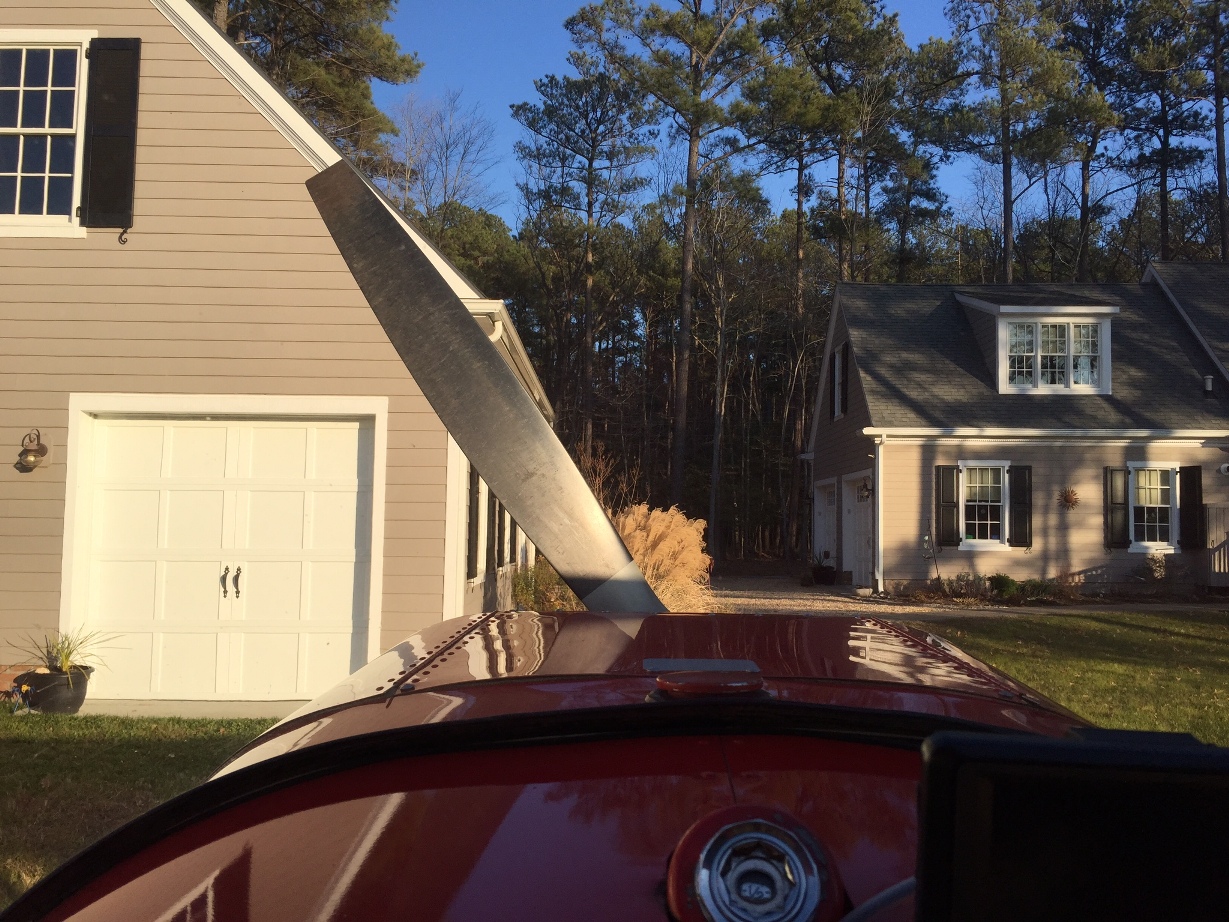
December 15, 2014.
Today I flew across the Rappahannock River to the Tappahannock Airport (XSA).
Upon return, I taxied back to the hangar and parked on the apron as I usually
do. The hangar is off the left wing. I will use the taildragger
dragger to turn the plane 90 degrees and pull it, tail-first, into the hangar. I
snapped this photo before I got out of the airplane. Sometimes I just have
to ask myself, "Is this real?" After decades of driving to and from the
airport to fly, I feel so fortunate that now, in my retirement years, I don't
have to make that drive.
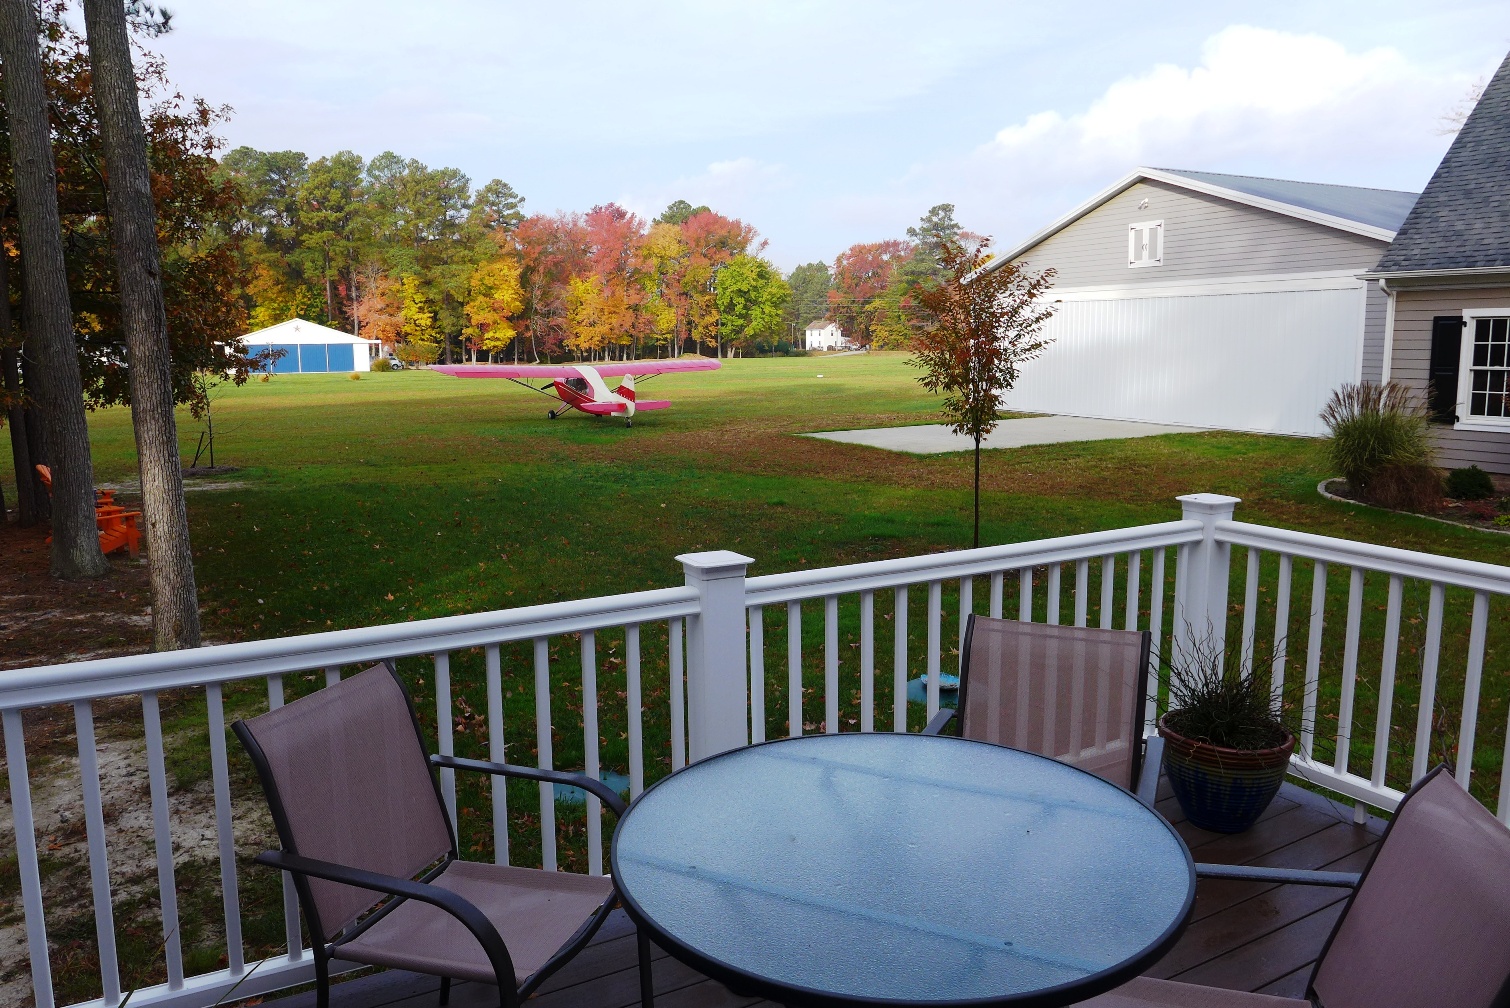
November 11, 2014.
The hangar is just a few steps from the back door of the house. Concurent
with the hangar project, we continued with finishing details on the house and
property. The work is never done!
August 4, 2013.
We've been working on getting grass to grow in the area around the hangar.
We have more weeds than grass, but at least it's green. Thankfully,
there has been enough rain this year to avoid the typical August "brown-out."
The Adirondack chairs provide a shady place to relax when the sun is too bright
on the west side of the hangar.
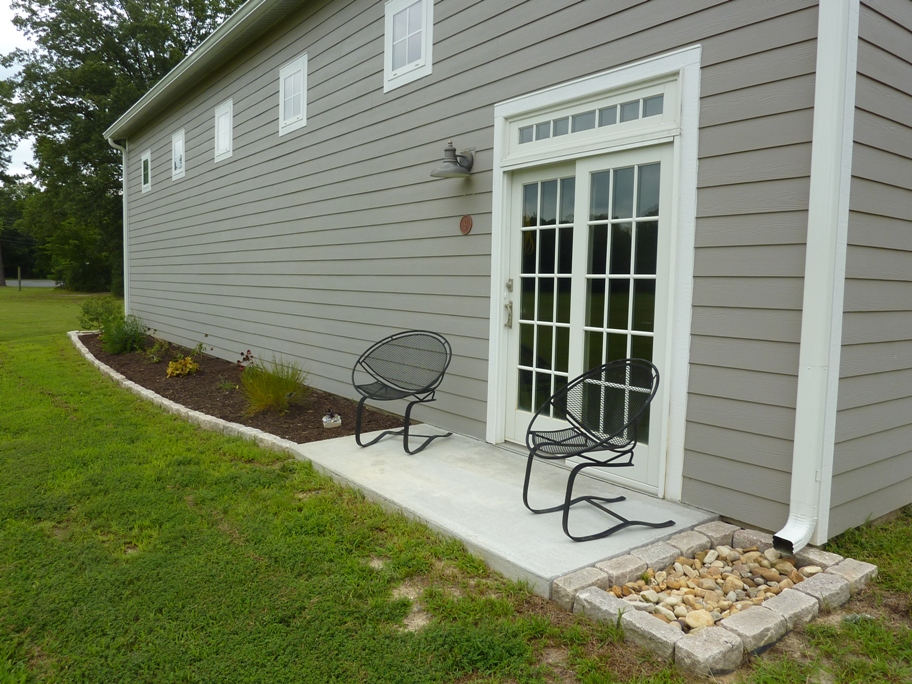
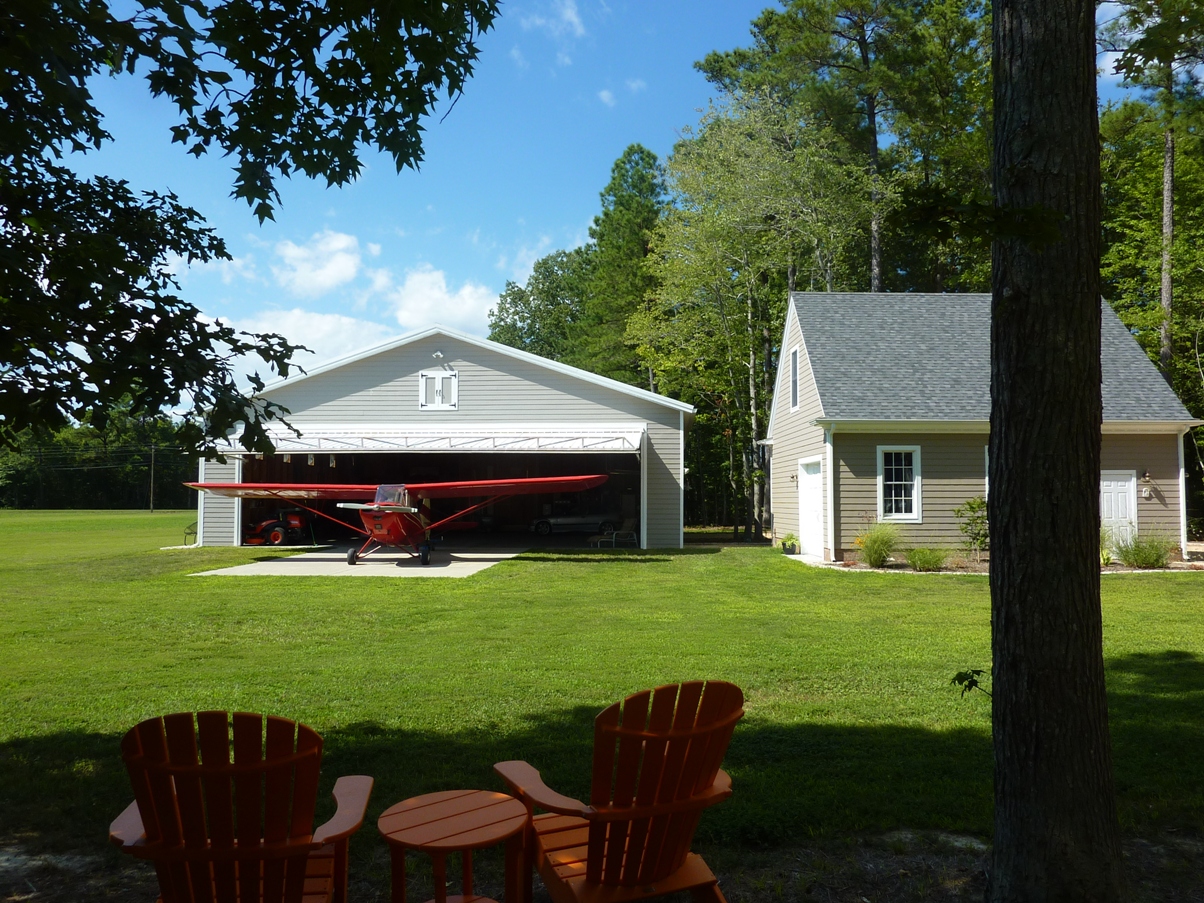
July 26, 2013. Okay,
this may be over the top for a hangar, but, hey, it's home. We did a
little landscaping on the west side where we can sit and watch the activity on
the runway.
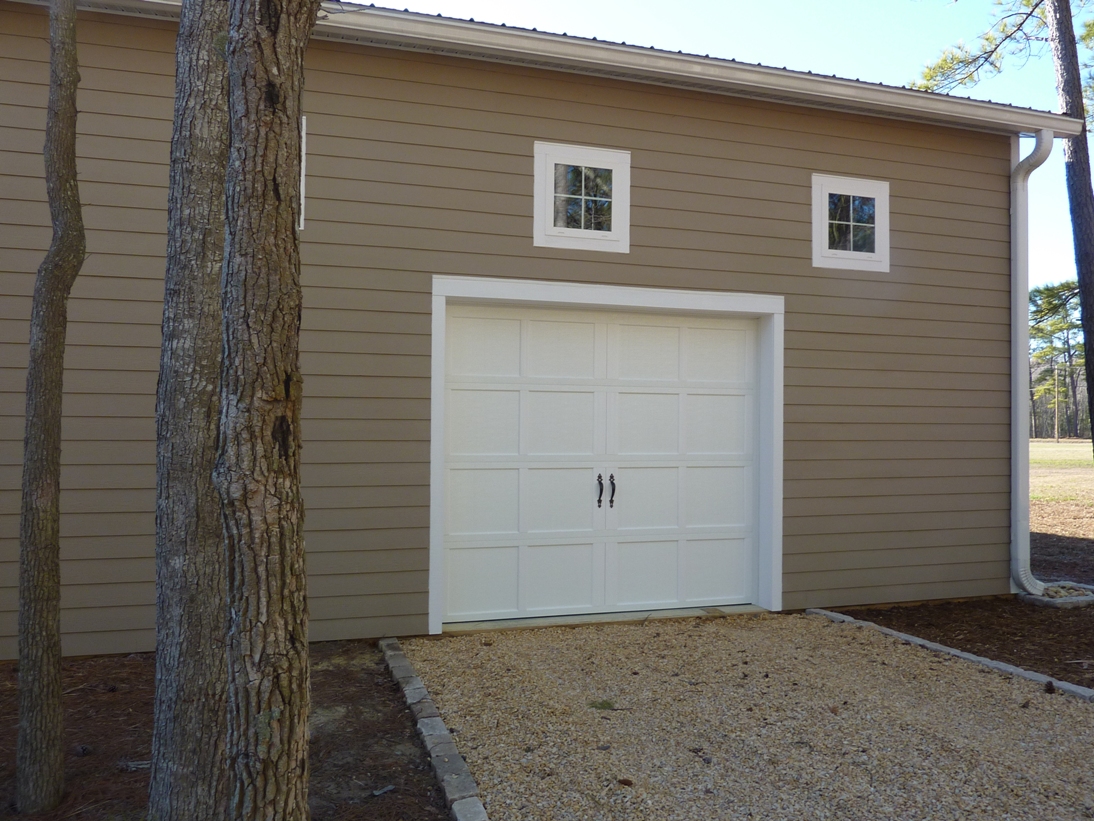
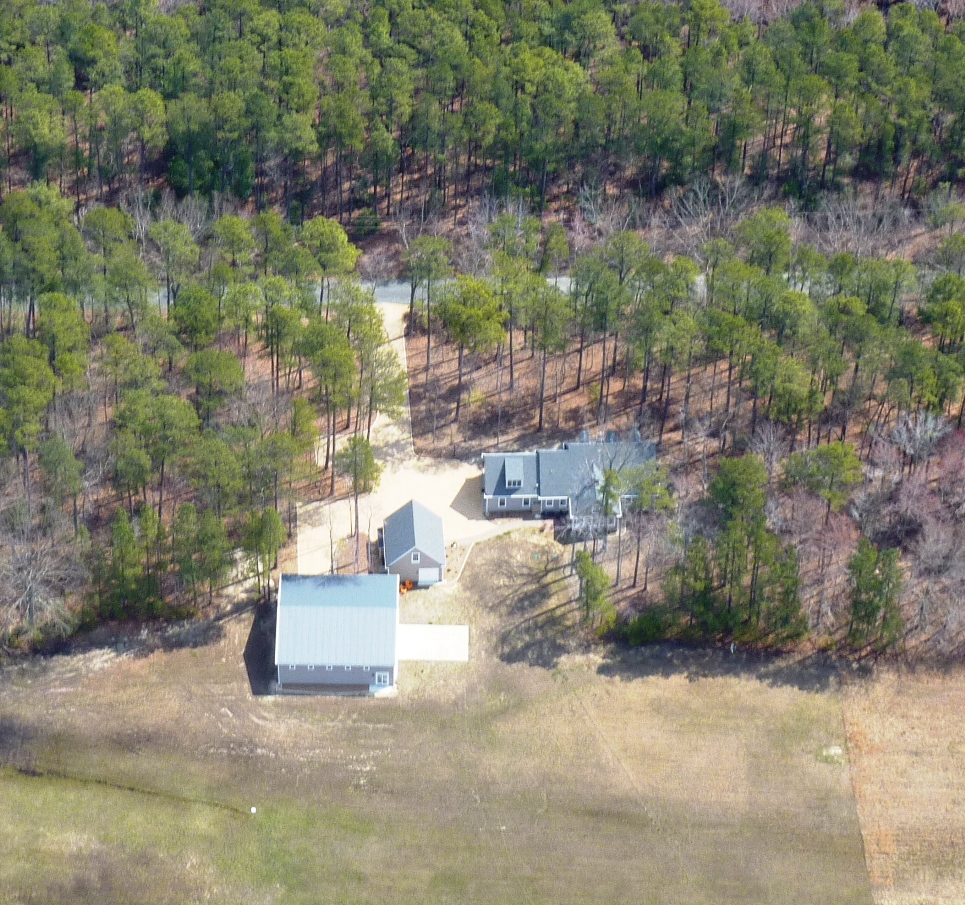
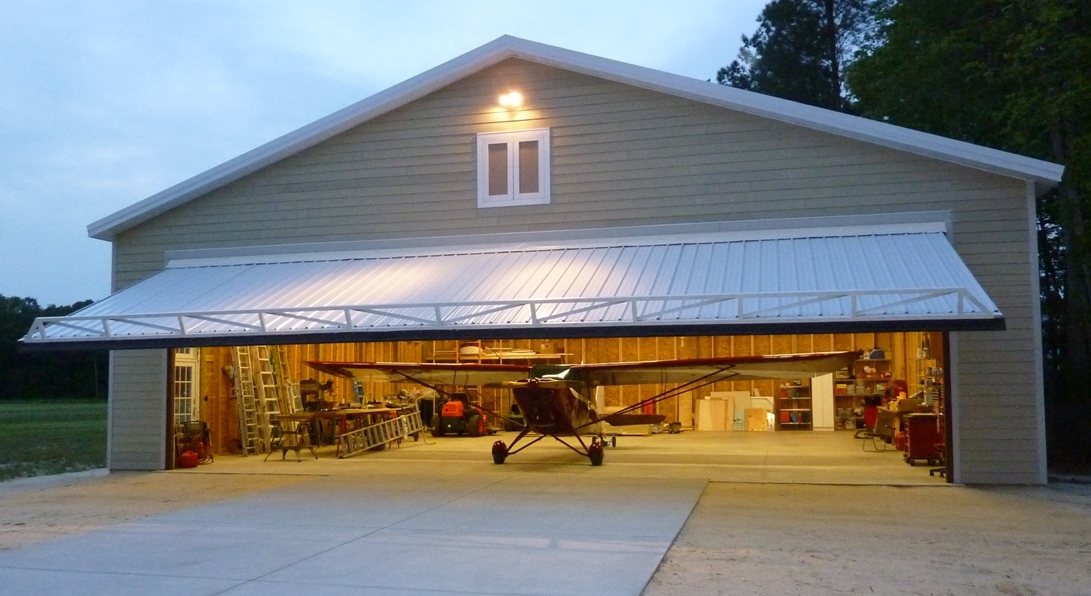
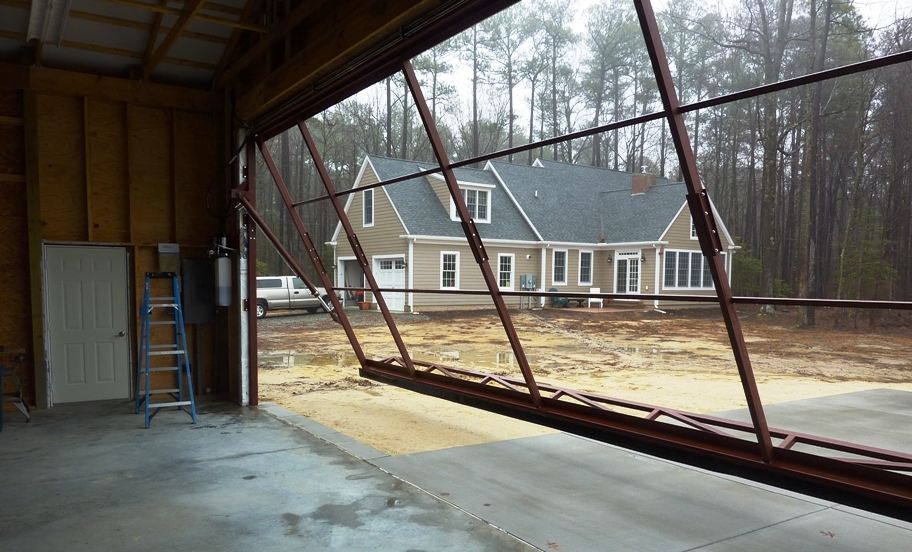
March 30, 2013. On warm summer days it will be nice
to open both the main hangar door and the new rear garage door for cross
ventilation. The aerial photo shows how the hangar is sited relative to
the house.
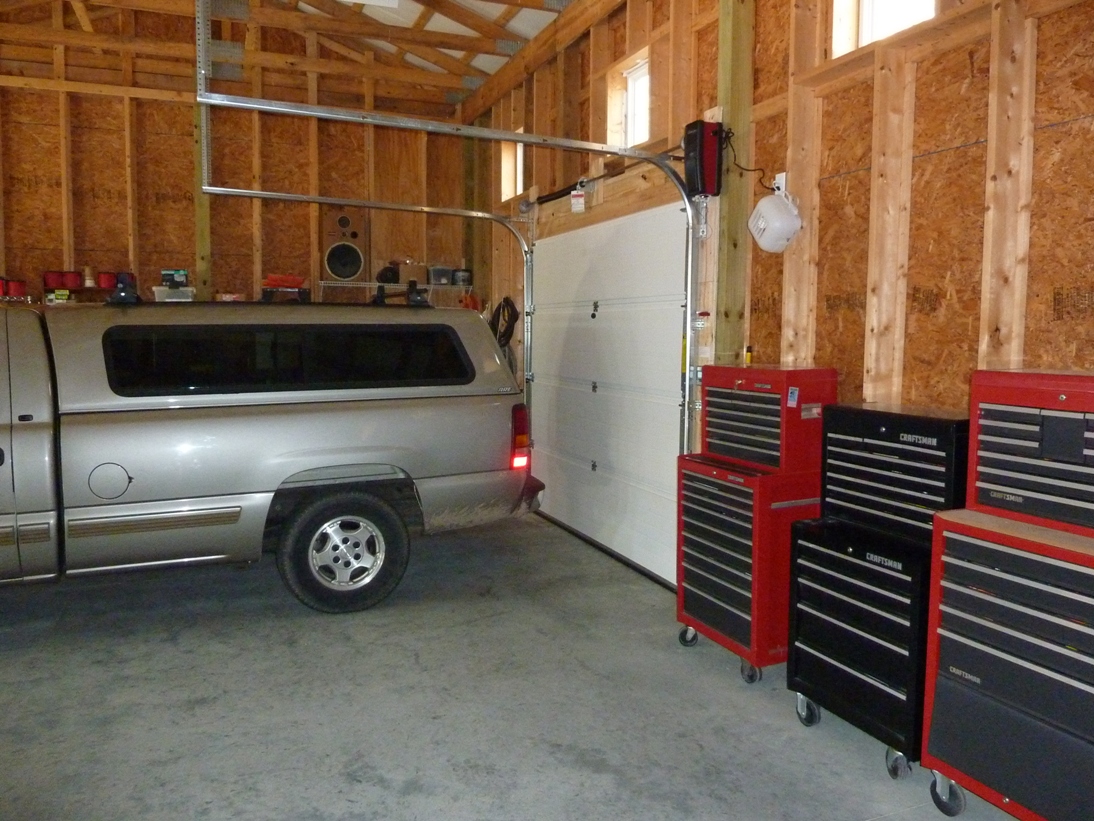
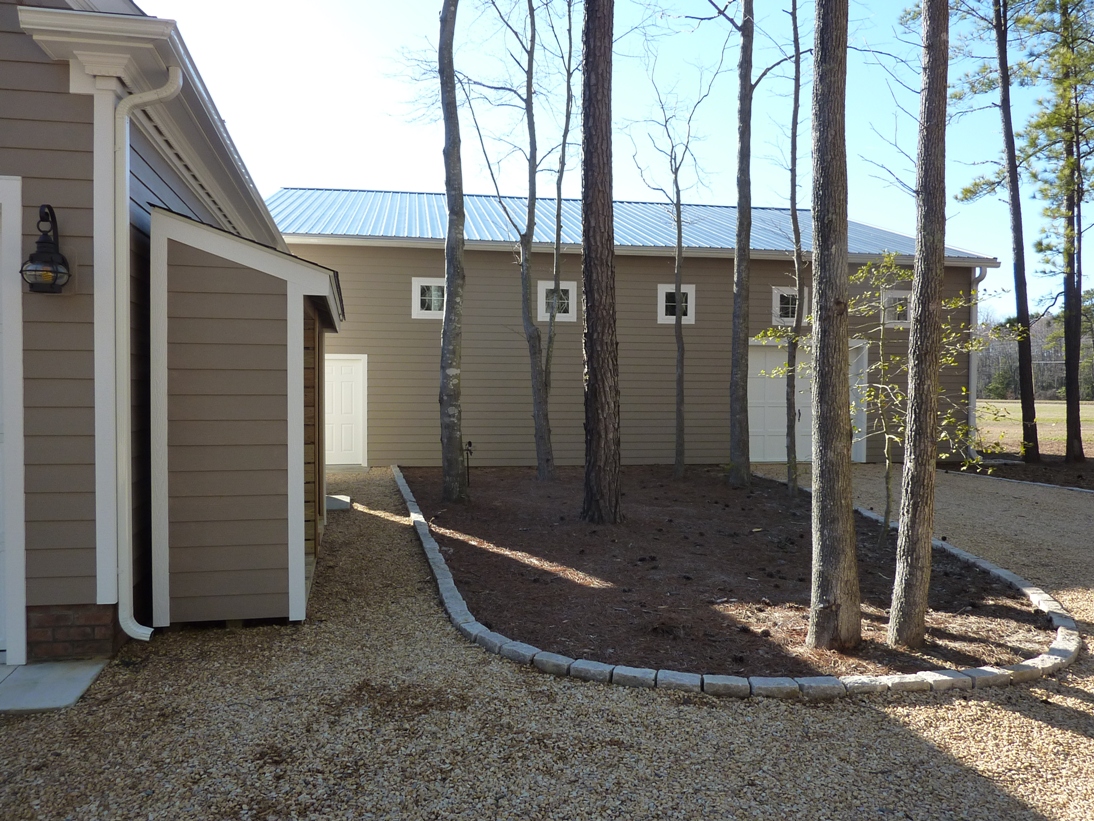
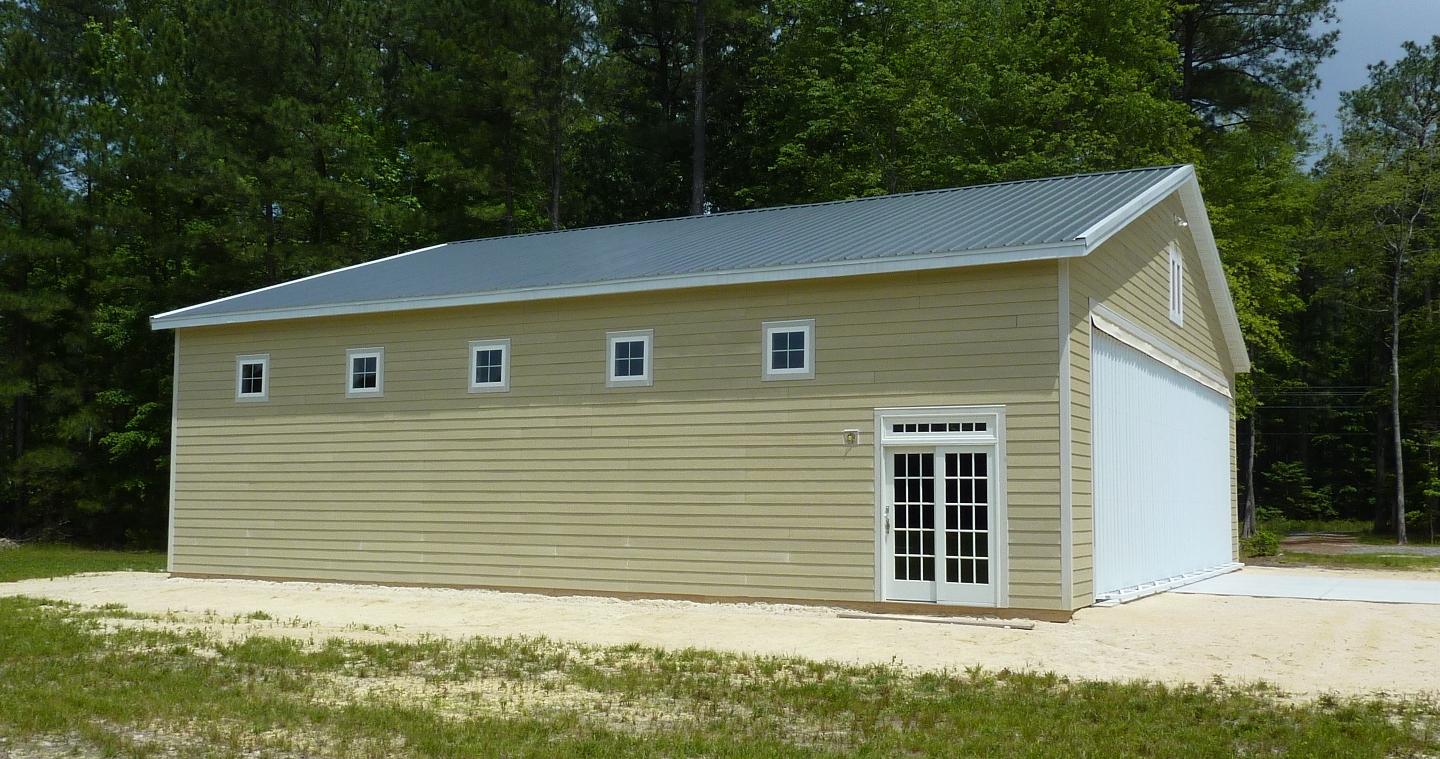
March 9, 2013. This
winter, we did some work on the driveway, extending it to the back east wall of
the hangar. We installed a garage type door so we could easily bring a vehicle
into the back of the hangar without disturbing the airplane. This past
year we also completed the detached garage where we keep the cars and added a
woodshed next to the garage. The original garage attached to the house is
now an artists studio for my wife
Sukey.
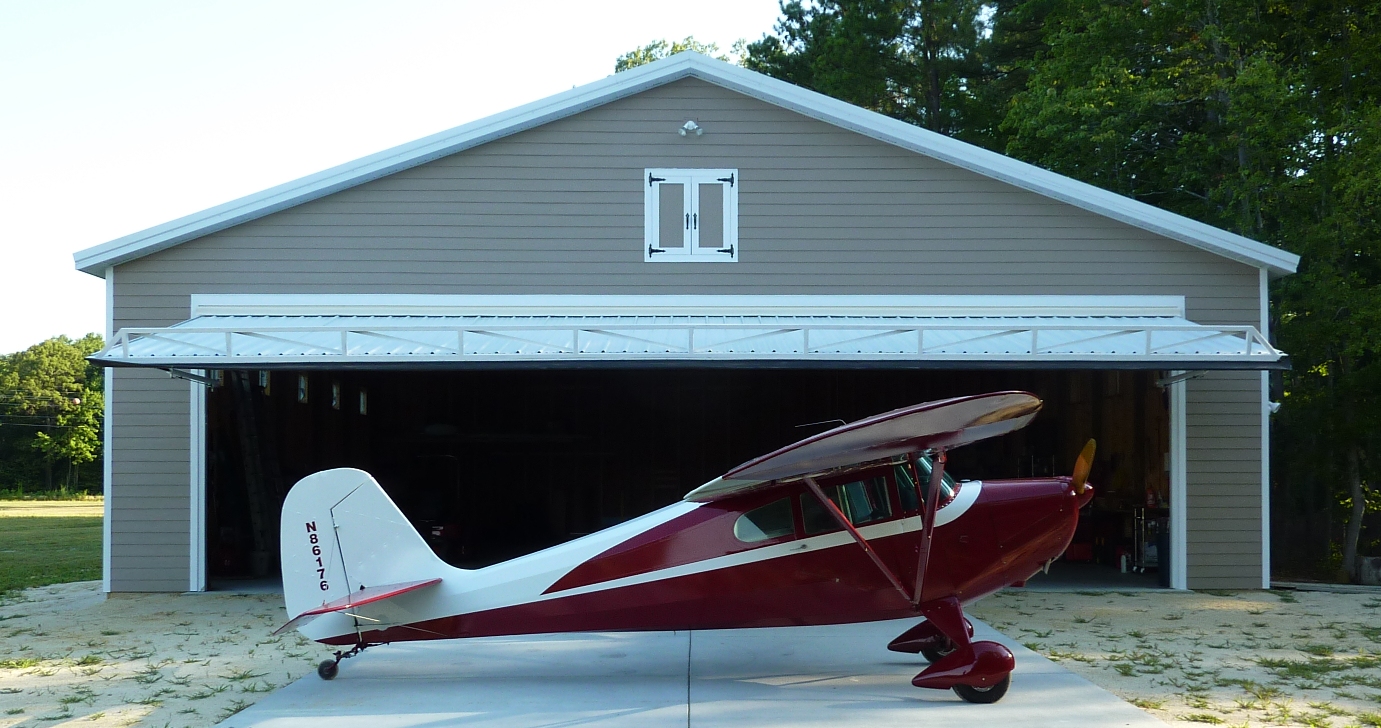
May 15, 2012.
Compare this photo with the one taken on July 27, 2010. We've added rain
gutters and have made some progress with getting grass growing around the ramp.
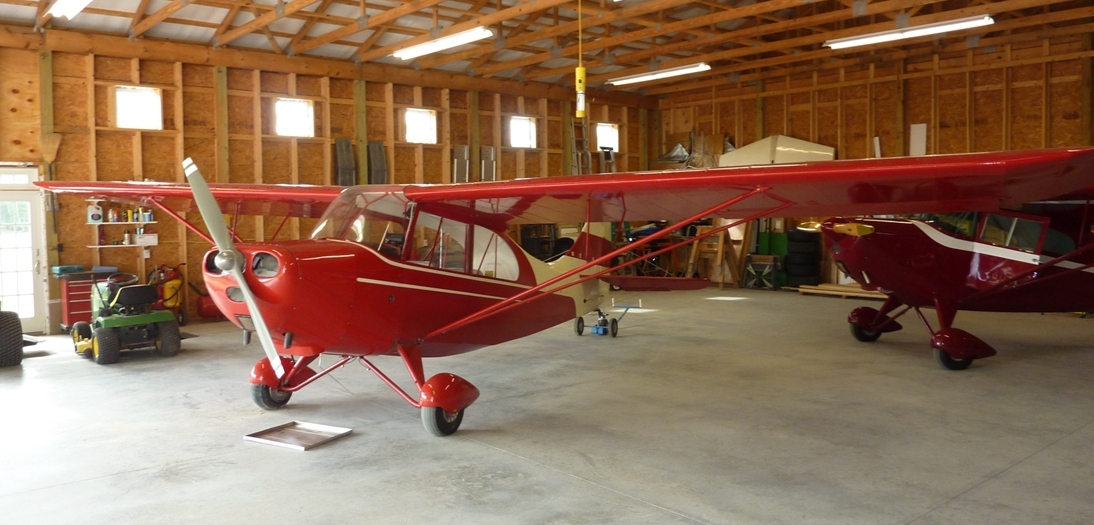
April 16, 2012. This
photo shows that the hangar will easily hold two Aeroncas with room to spare.
After buying the Champ in the foreground, I sold the Chief in December 2012.
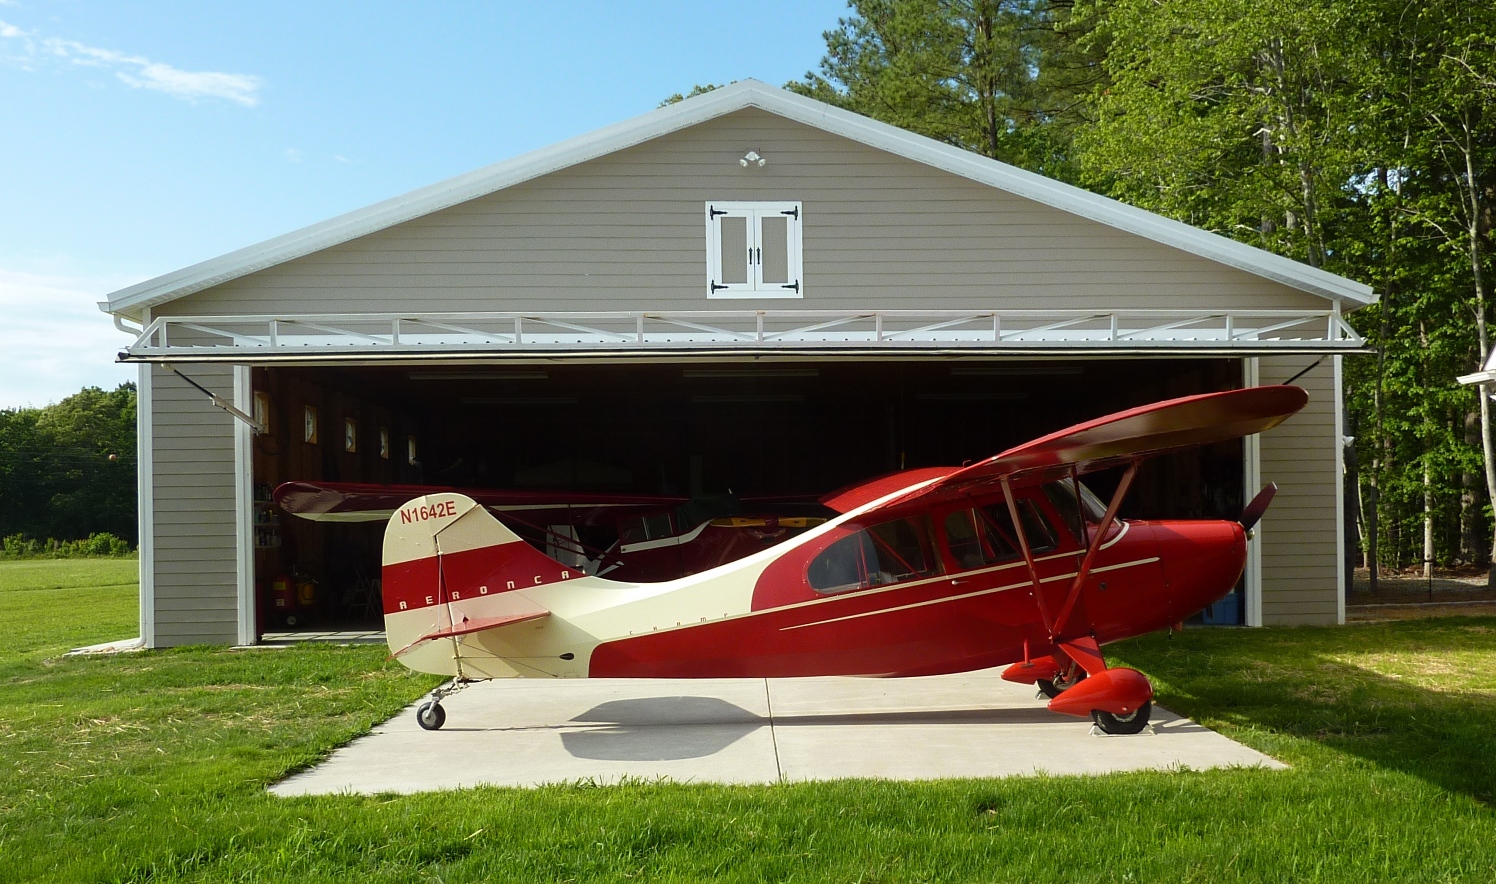
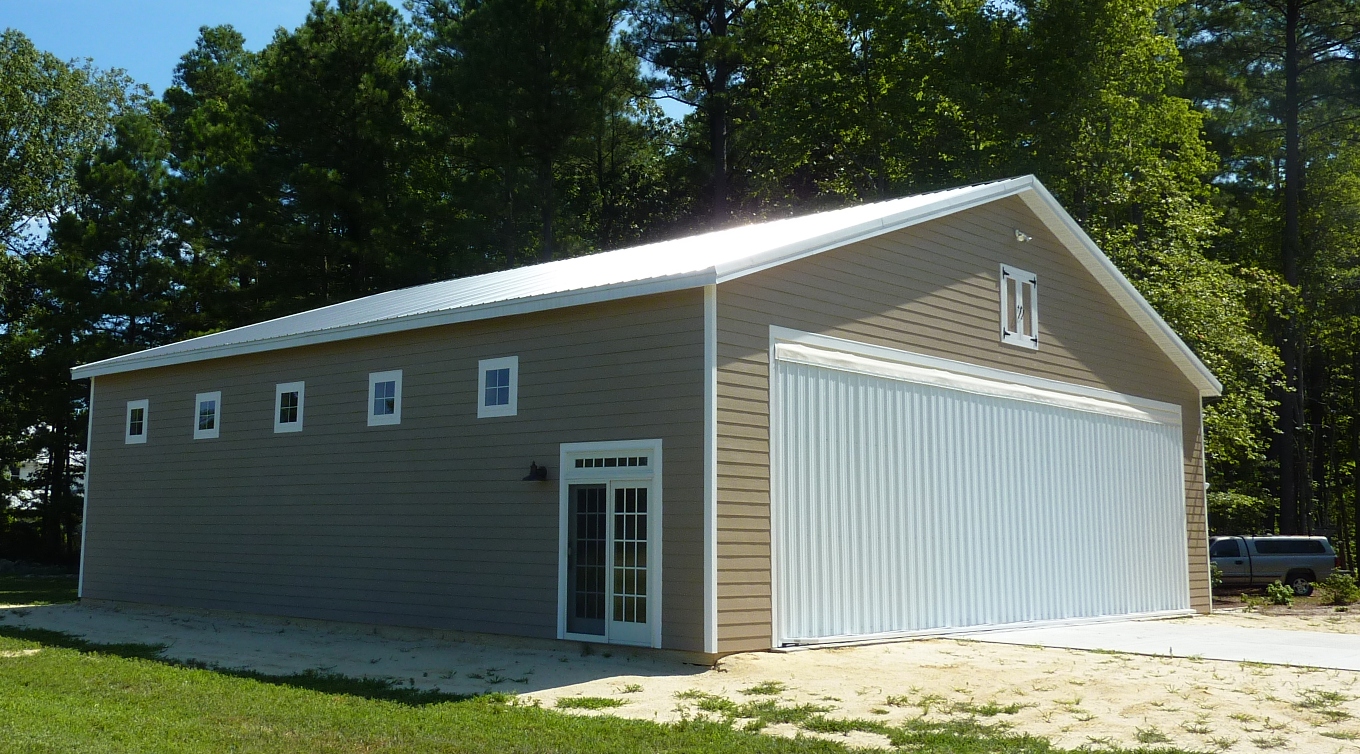
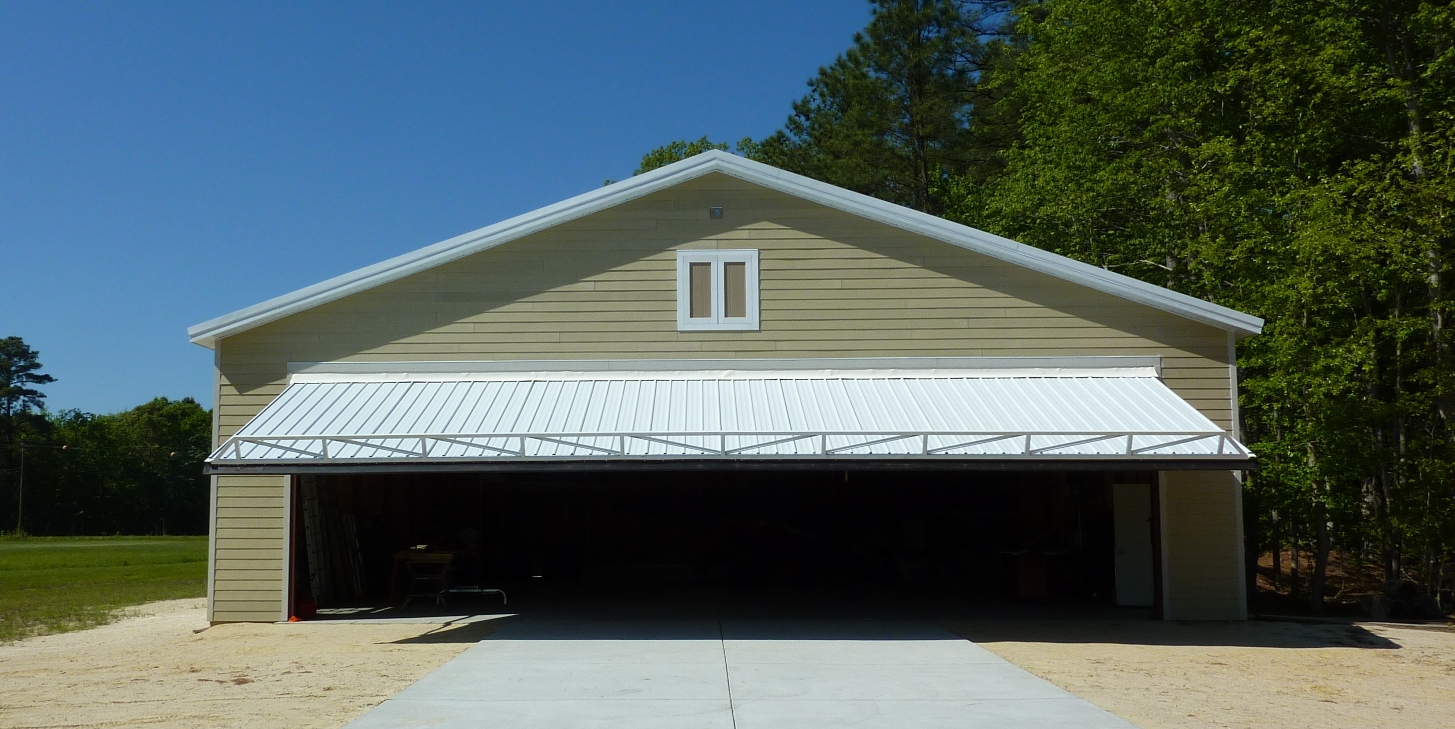
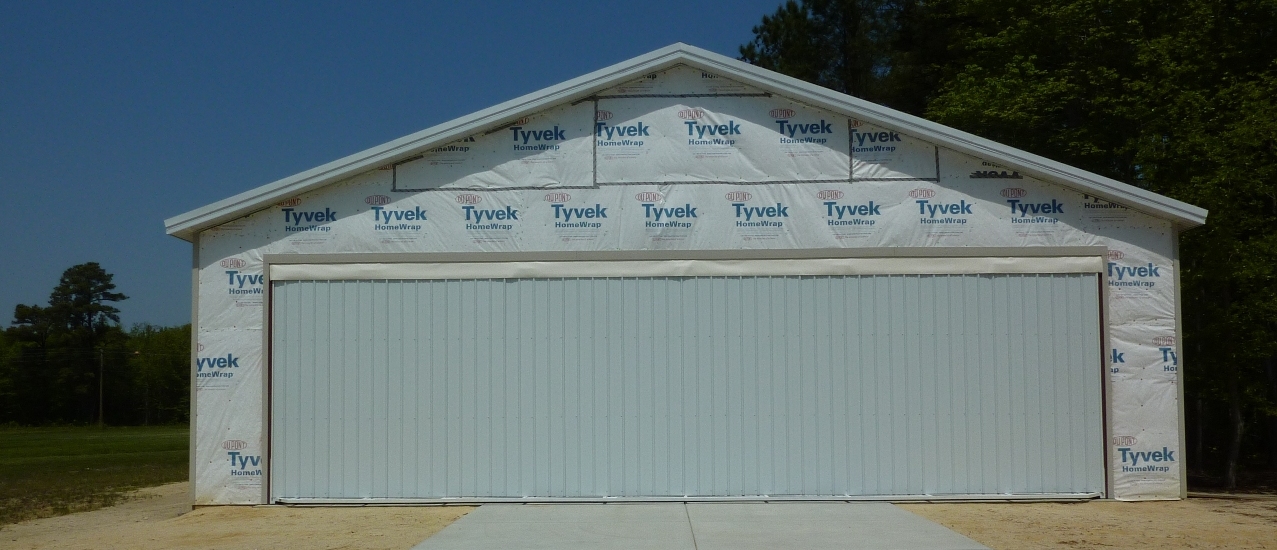
July 27, 2010.
Here's another shot of the finished front of the hangar. This morning was
clear and calm and reasonably cool, so I took the Chief up for exercise.
The air was absolutely still and it was beautiful on the Northern Neck.
Returning from flight, my practice is to taxi unto the apron from the side, then
use the taildragger dragger to swing the tail towards the hangar.
July 26, 2010. With
the exterior painting finished, today I installed the hardware on the loft door.
Yesterday I re-installed the exterior light fixtures.
July 11, 2010. Today
I secured the rubber top hinge cover to the door. Rather than just screw
the bare rubber to the door as suggested by the manufacturer, I had some aluminum trim
shaped with a ten foot metal brake to form a drip edge. I think this gives
a more finished appearance.
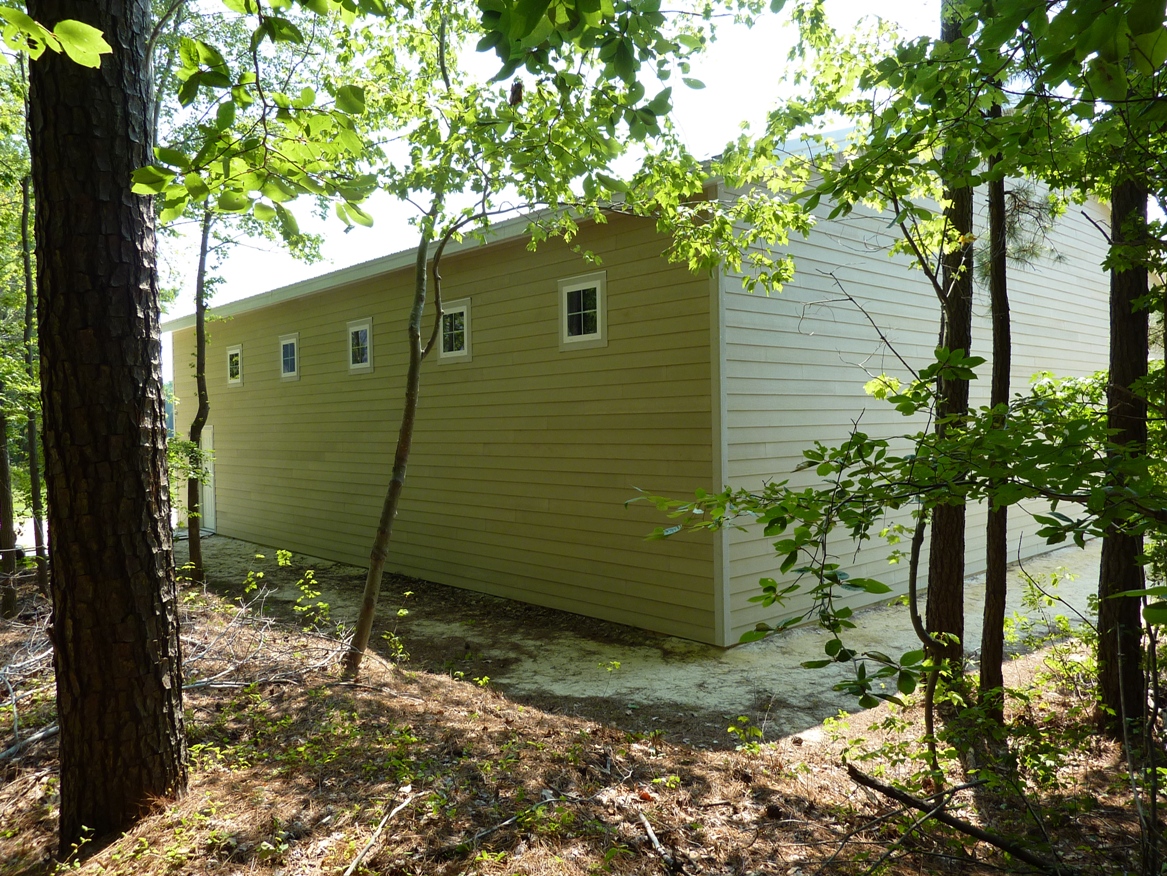
June
27, 2010. The siding is now done on all four walls. After doing the west and south walls ourselves, we hired some help for the last
two walls. The pros sure do work a lot faster!
May 25, 2010. My
friend Mike Roe helped me finish hanging the west wall siding. Still have
caulking and painting to go on this wall.
May 2, 2010. Today I
did some electrical work, adding flood lights on the gable above the main door.
With high temperatures and humidity in the region, I worked with less enthusiasm
than other days, but also continued the siding work on the west wall.
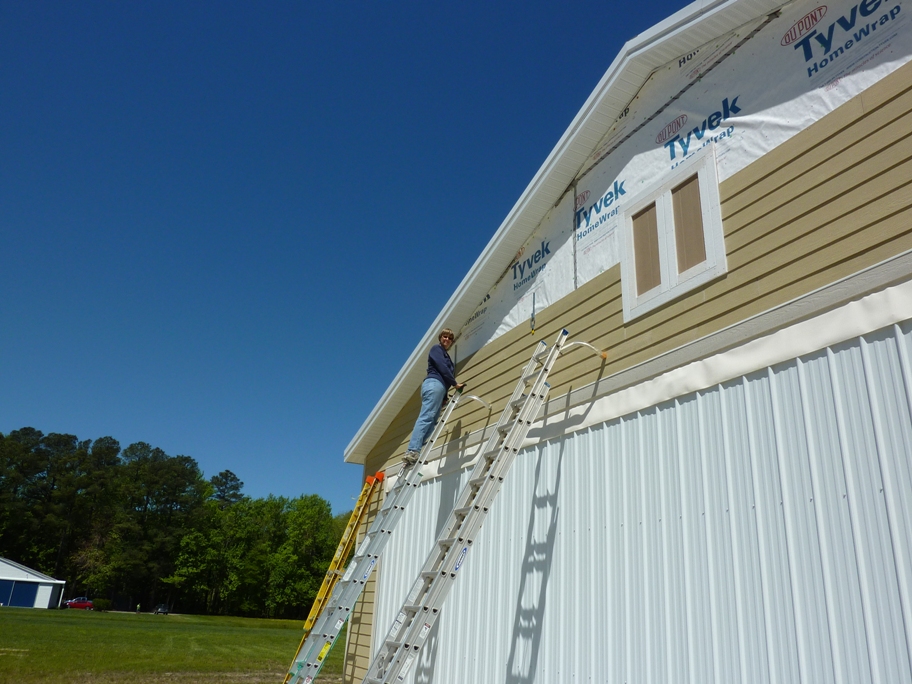
May 1, 2010. A
marathon week of siding work. The south gable wall is done, with just
caulking and painting to go on the main door side. My wife Sukey helped
with most of the siding, including the gable work done using two 28 foot
extension ladders. At the peak, the gable is about 23 feet above ground level.
Only three more sides to go! To add some character and break up the
expanse of siding on the gable, I used some left-over Miratec trim to add "faux"
loft doors. I will add hinges and latches so the doors appear to be
functional.
April 23, 2010.
Yesterday I installed the rubber seal at the top of the door. The seal
covers the hinges. The standard seal supplied is of heavy
black rubber, the same as the bottom seal, but I ordered a seal made of heavy
white rubber for aesthetic purposes. Today I installed the Miratec trim
around the door - 1x4 on the sides and 1x6 at the top.

April 14, 2010. A
milestone day. With the hangar closed in, it was time to move the airplane
into the hangar for the first time. I've also started moving some of my
other "stuff" into the hangar, including struts and control surfaces from the
Stinson project, stored in the trusses. Special thanks to my neighbors at
VA99, Mike Roe and John Federhart, who generously allowed me to house the
Chief in their hangars while I built my own.
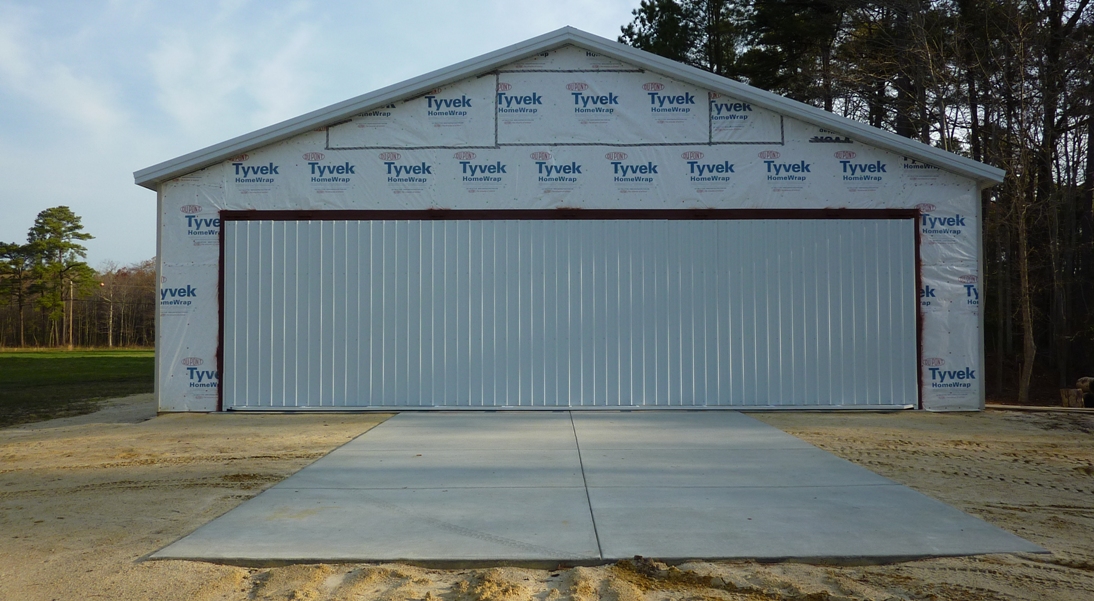
April 3, 2010. Today
we finished skinning the door. Now we're ready for the trim and siding on
the door wall.
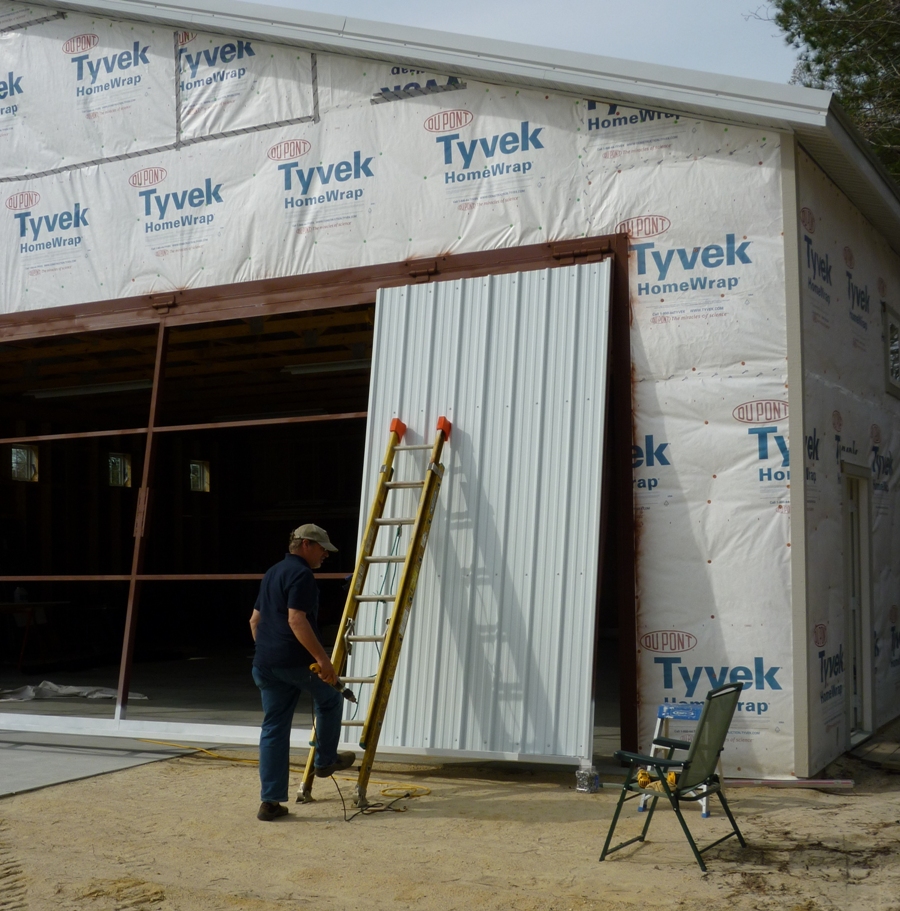
April 2, 2010.
Yesterday the metal for the door sheathing arrived. Also, my neighbors at Cockrell's Marina brought
their arc welding equipment and reinforced the frame splice plates. The
manufacturer is now
recommending that the splices are welded for all doors, not just the larger (18'
and taller) sizes. With the welding completed, I wire brushed the welds
and repainted. Today, with help from Sukey,
I started installing the metal sheeting. I used 26 gauge metal from Union Corrugating Company,
purchased from my local lumber yard. Each piece covers three feet of width and
is precut for the full height of the door. Self tapping screws are easier
to drive if a pilot hole is first drilled.
March 23, 2010.
Today I worked more on the siding installation, which I began yesterday.
I'm using fiber cement siding by James Hardie
with a six inch reveal. This will be painted to match the house. For
cutting the siding, I use an SS204
Snapper Shear, which avoids the excessive and harmful dust that would be
created by using a saw. I use a tool designed by Allyn Rehm called a Hang-N-Nail that holds the siding in the
proper position, making it possible to work solo. And finally, a
Hitachi NV 65AH pneumatic siding nailer drives the stainless nails to the
correct depth.
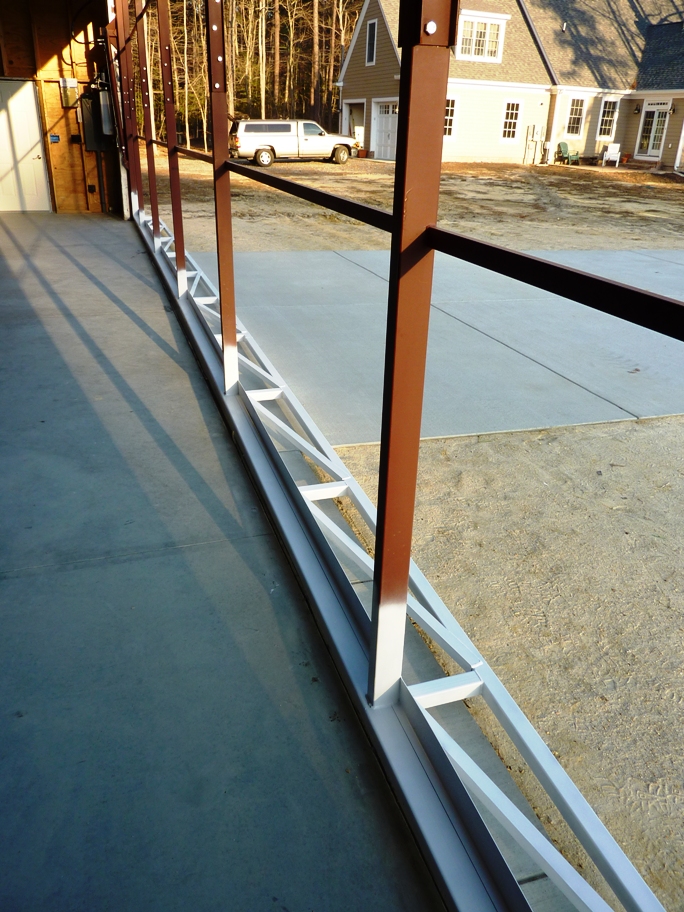
March 20, 2010. I
painted the truss portion of the door. This will be exposed after the
metal sheeting is installed. The truss gives strength to the door and
prevents sagging when in the open position. There is a slight outward bow
to the truss.

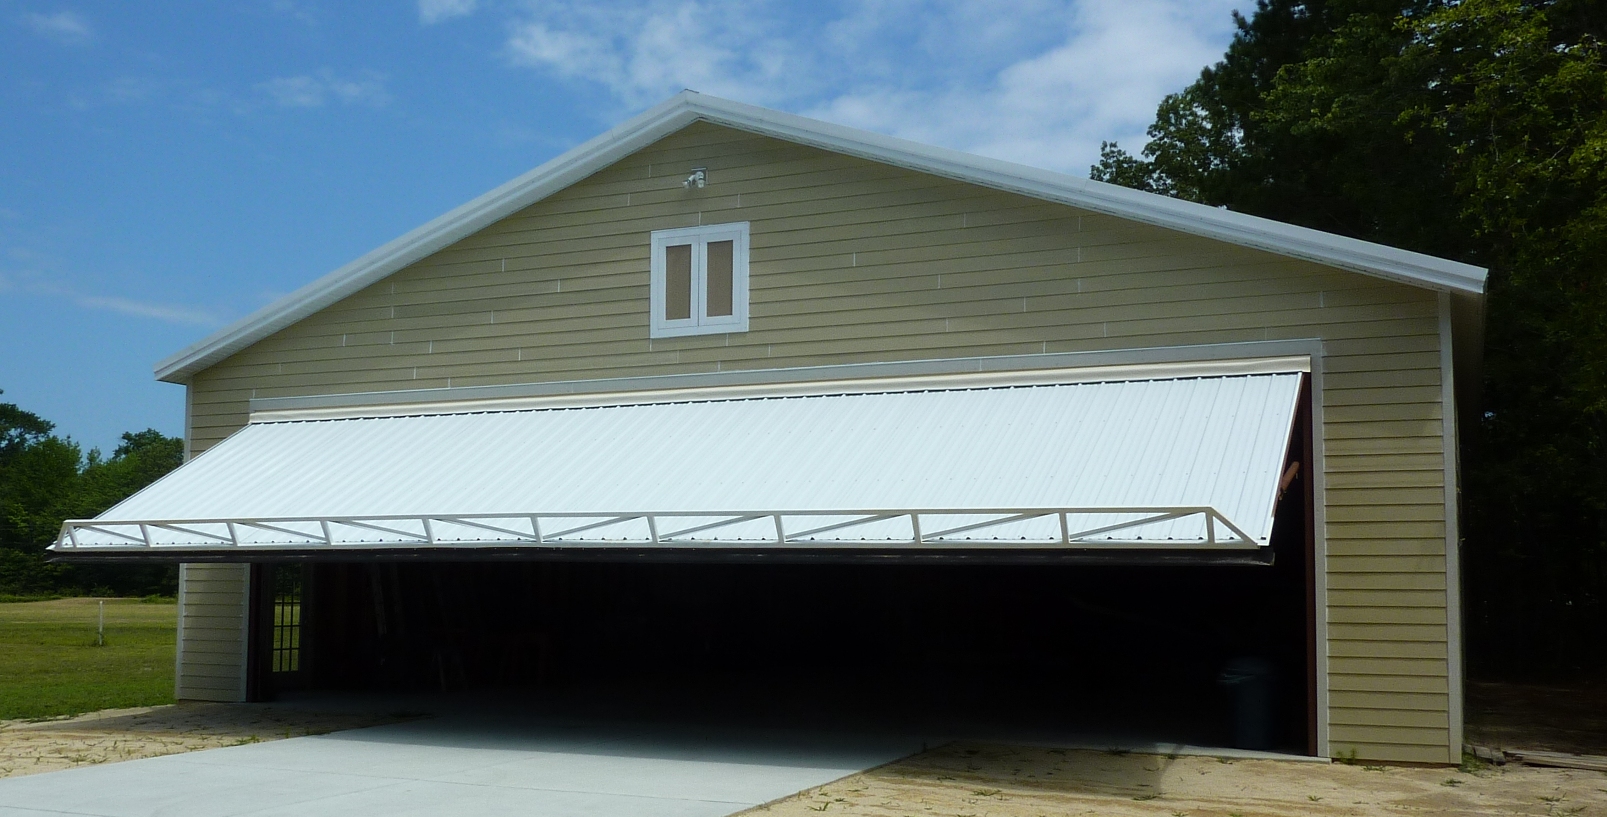
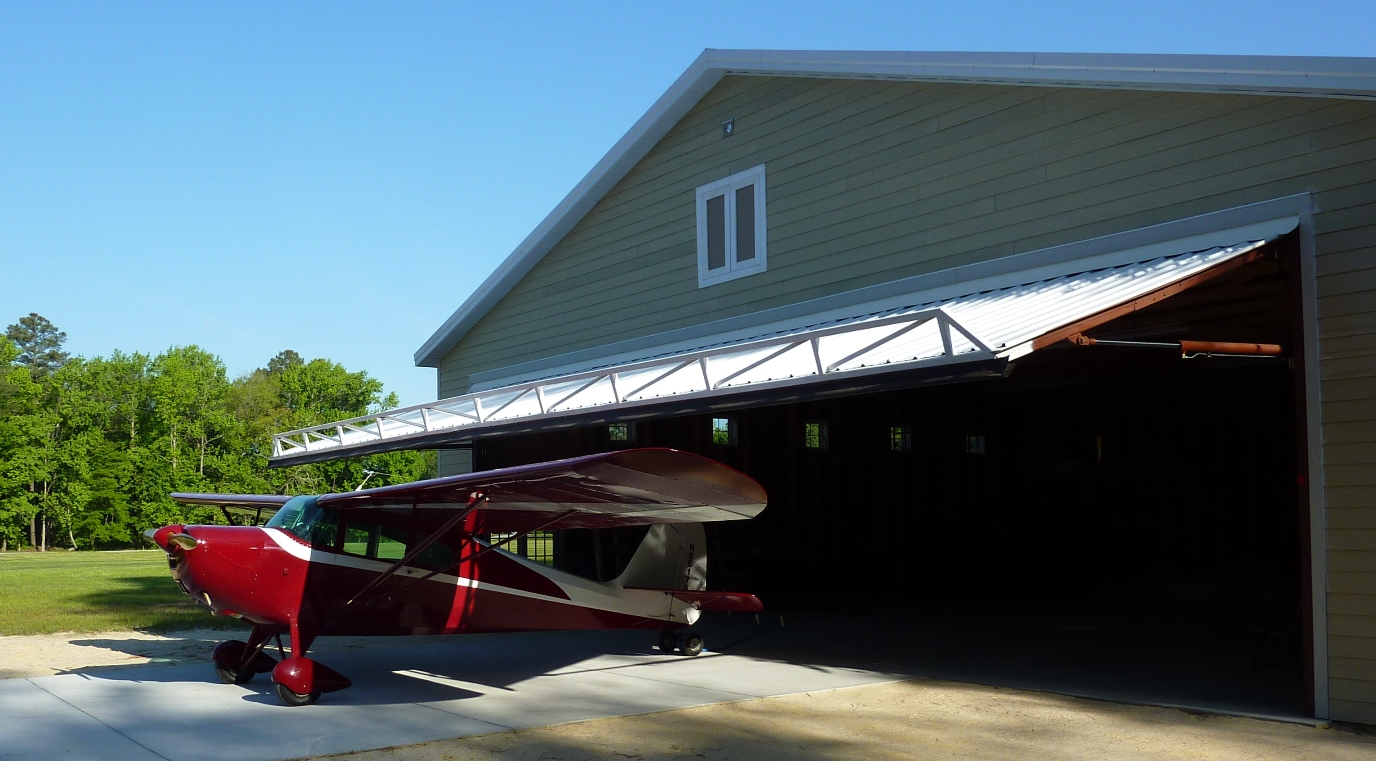
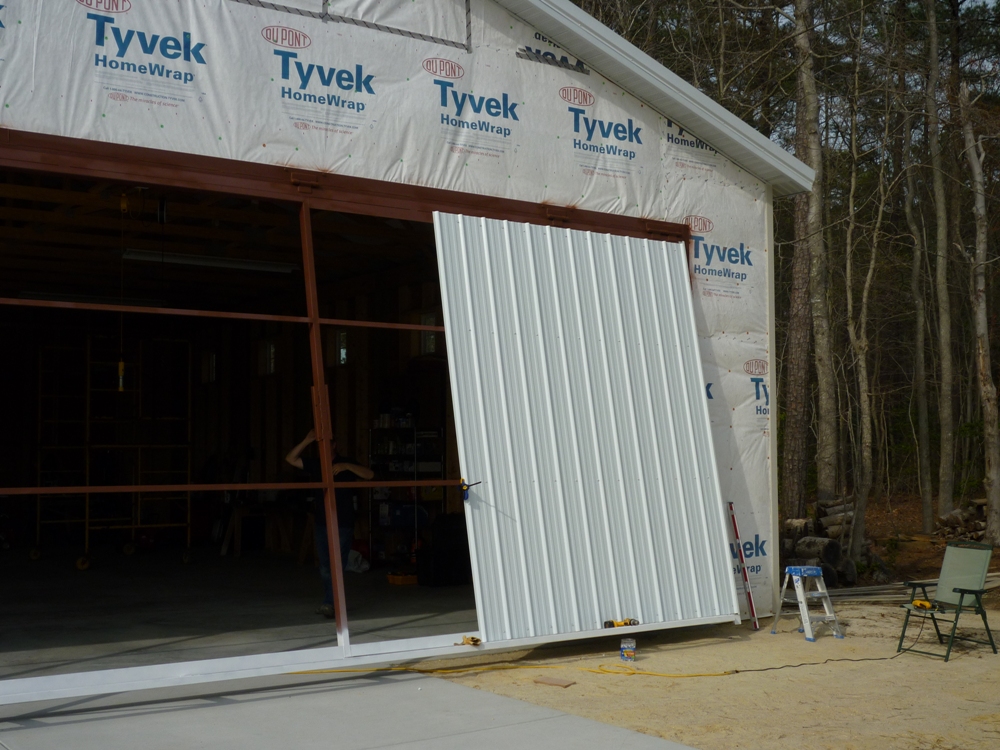
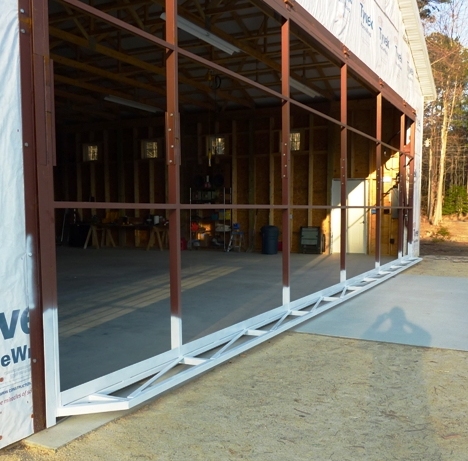
March 12, 2010.
After adding more hydraulic fluid to the resevoir, I cycled the door all the way
open. The door provides for a large clear opening and also serves as
an awning when open.
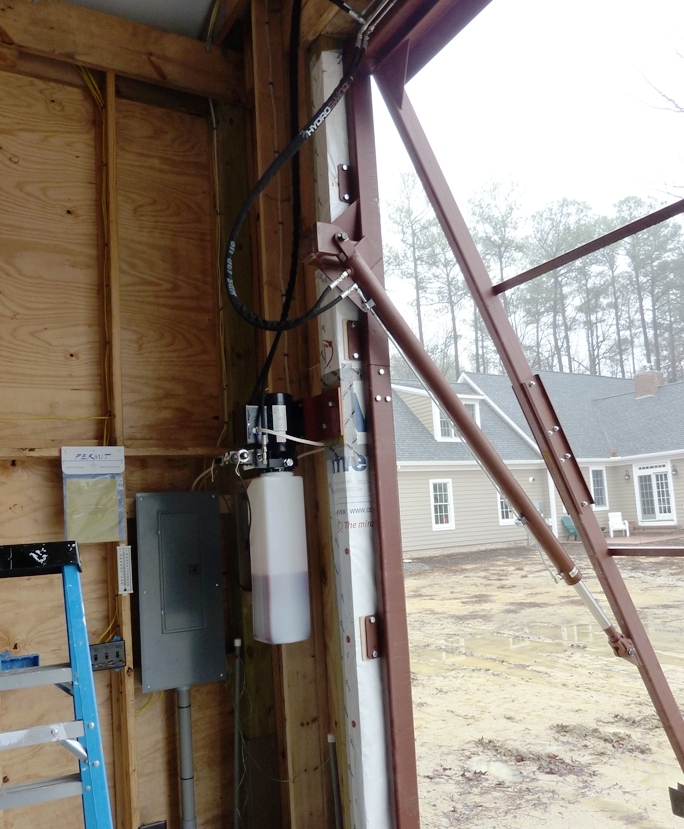
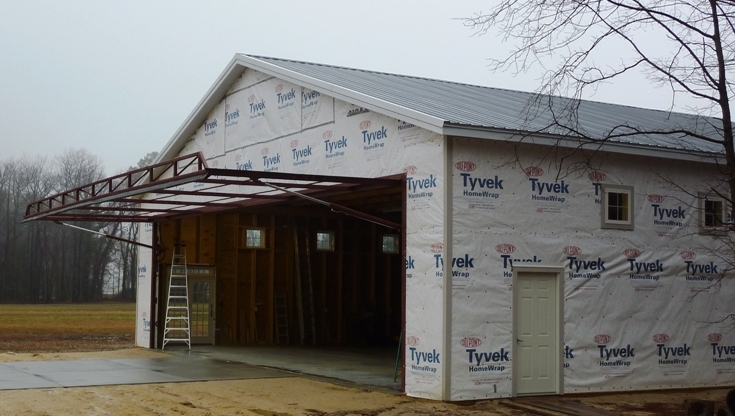
March 12, 2010. I
finished the electrical hookup and hydraulic line plumbing for the
door and partially cycled the door for the first time. It works!
March 9, 2010.
Neighbors help with the grunt work and I find myself up on a ladder again. Half inch bolts attach the header,
half inch lag bolts attach the jambs. The fit
was excellent.
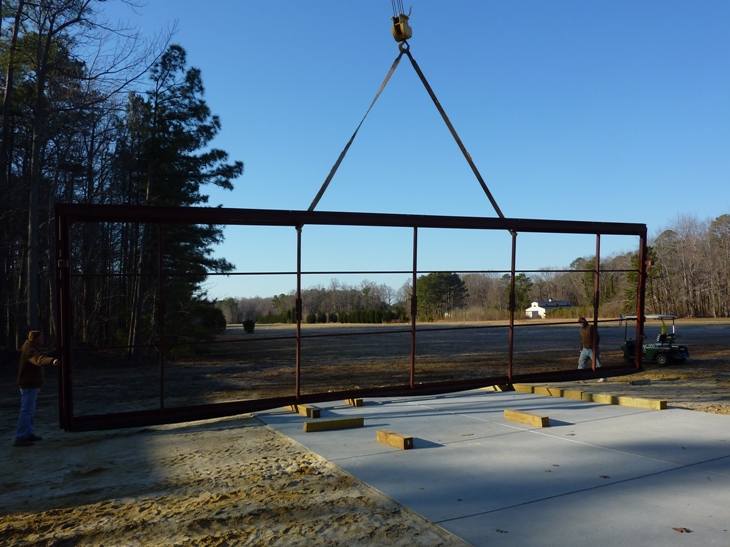
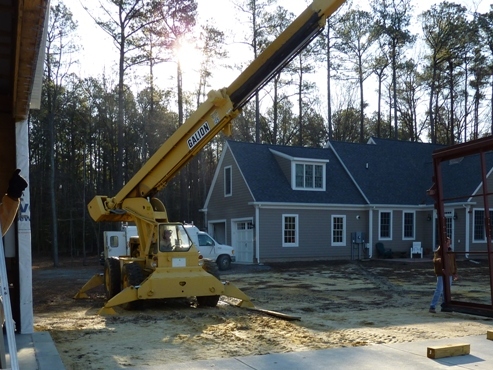
March 9, 2010.
Today we hung the door - a bit of a milestone. Andy Cockrell mans the
crane to lift the door into position.
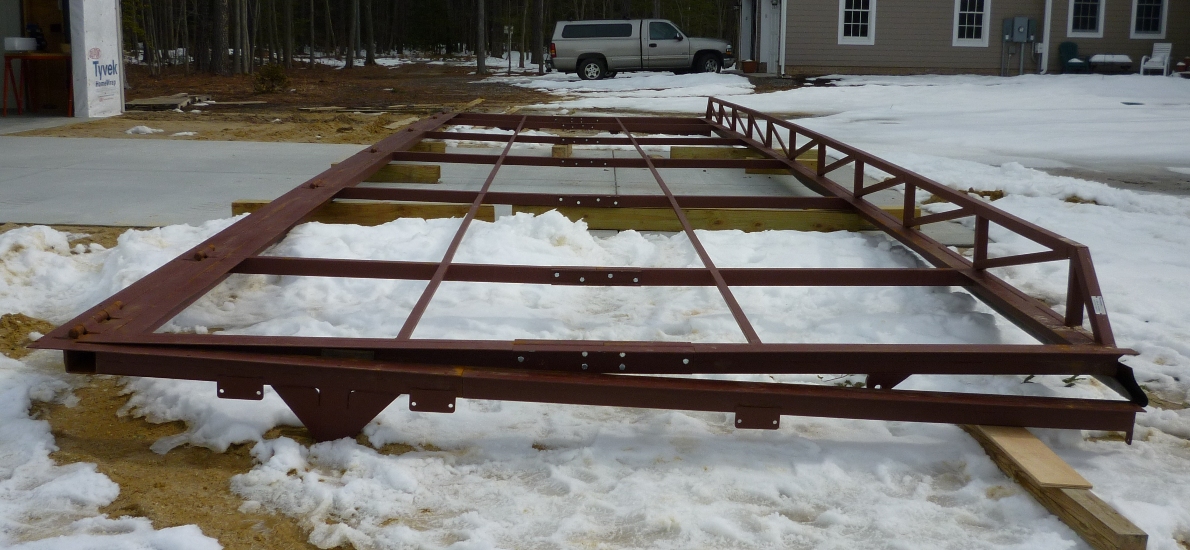
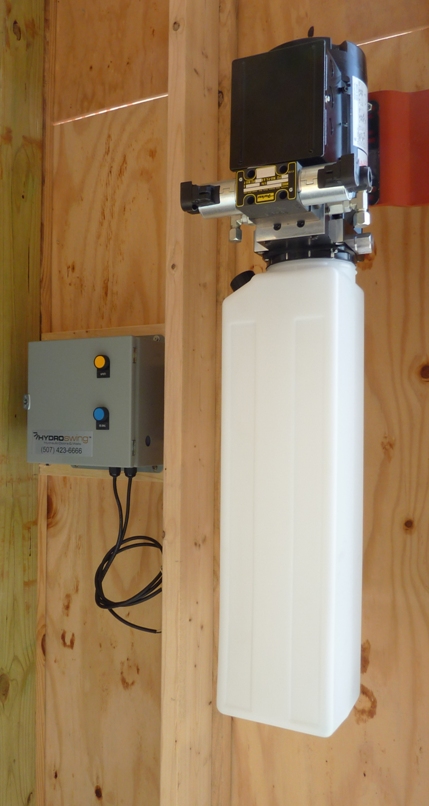
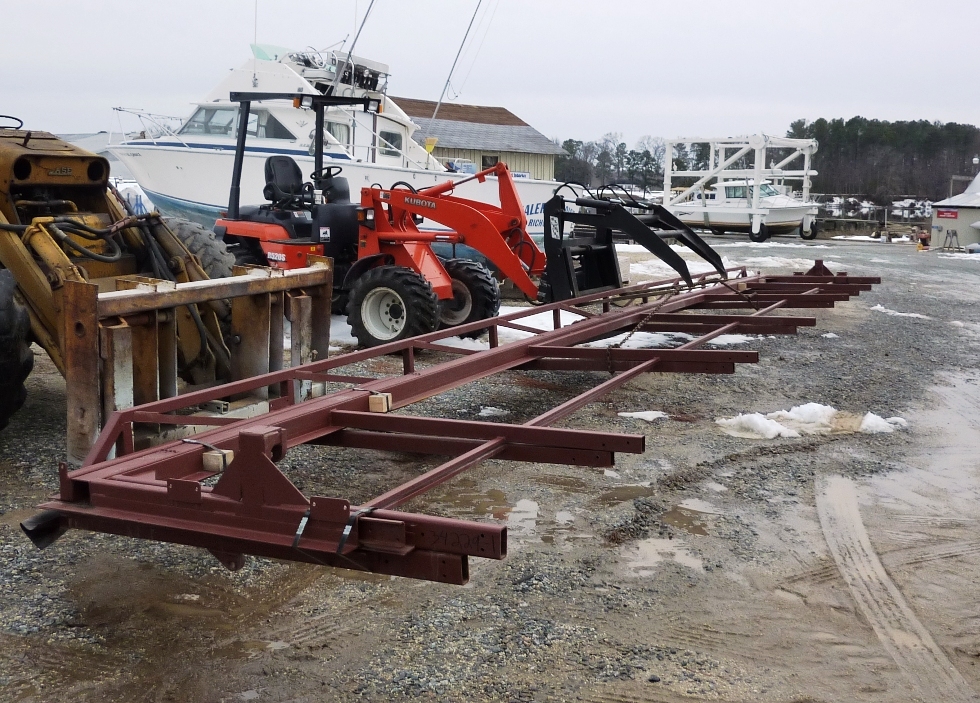
February 15, 2010. I
finished assembling the door frame, using a come-along, a hydraulic jack, and
large bar clamps to pull the door frame sections together and align the uprights
at the splice points. The bare frame weighs about 2500 pounds, or as much as
three Aeroncas. Inside the hangar I mounted the hydraulic pump/reservoir
and control box.
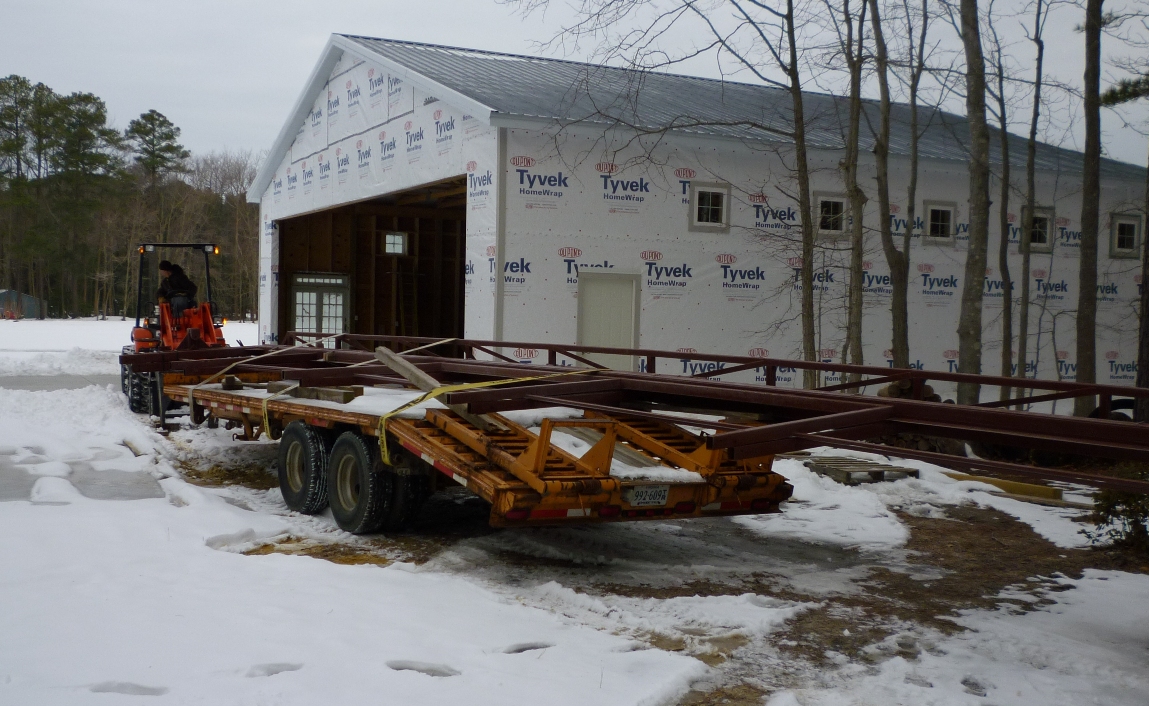
February 9. Once at the
hangar, the door was unloaded from the trailer and positioned on the apron.
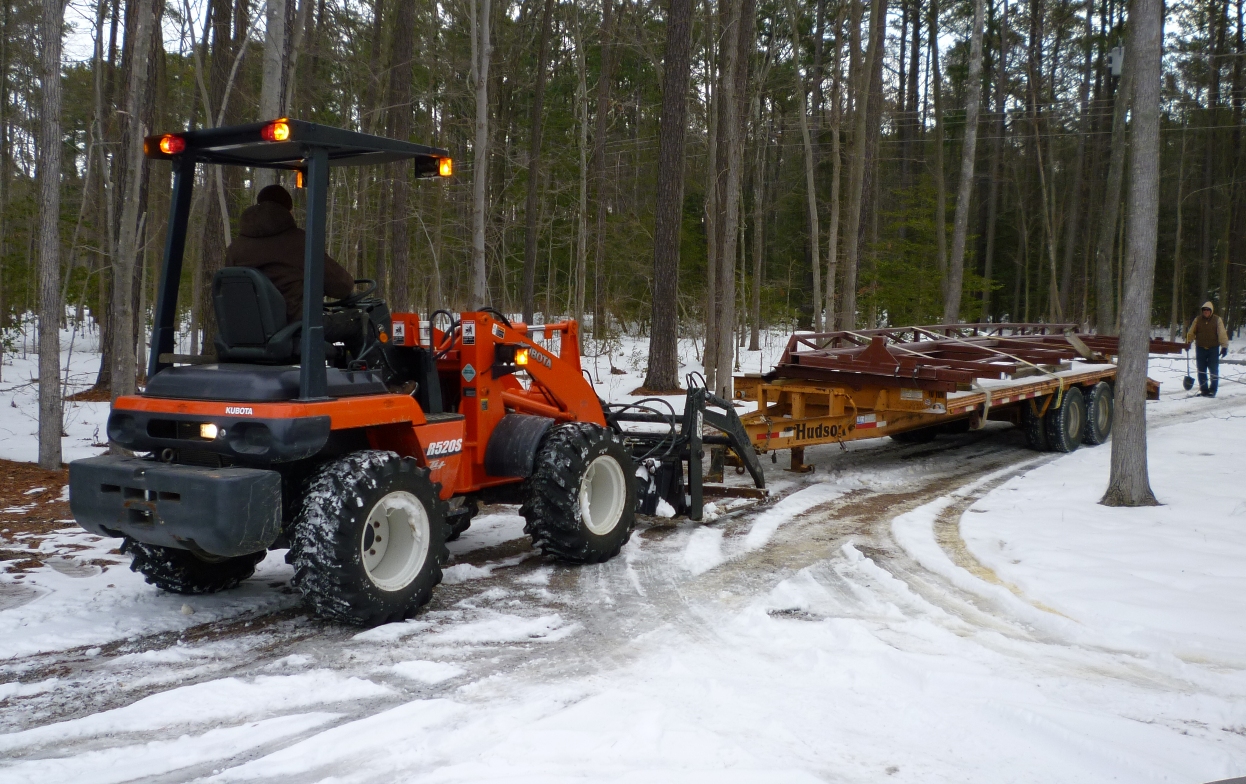
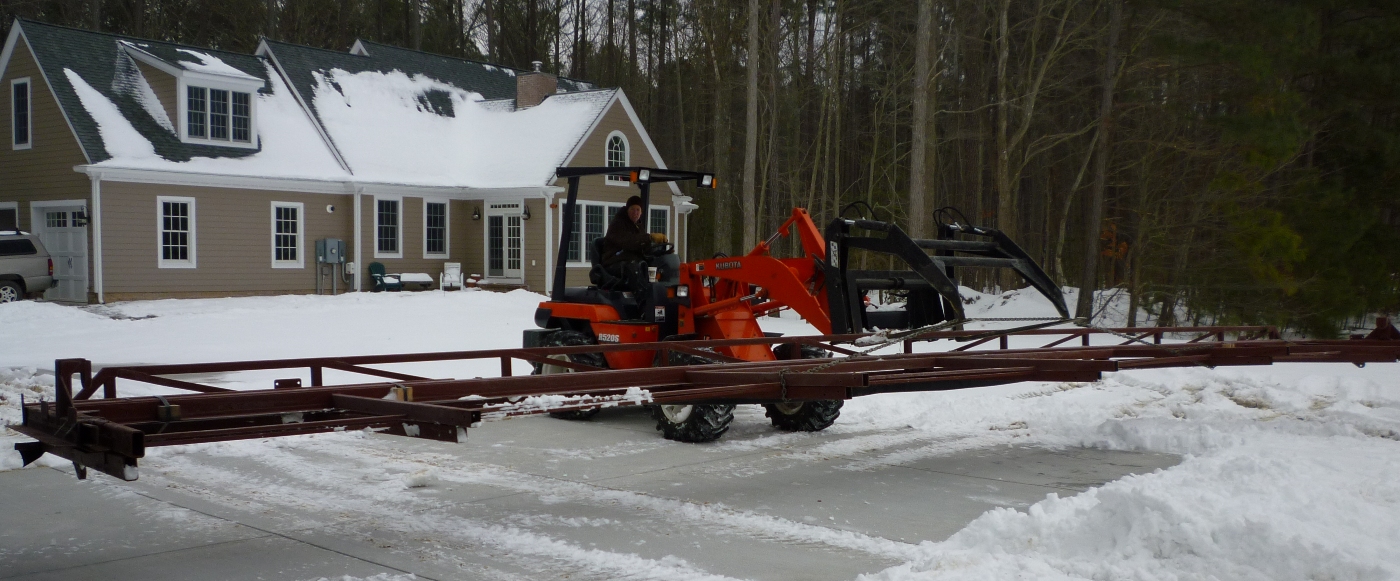
February 9, 2010. With
the ground frozen, we decided it was a good time to bring the door frame from
the marina to the airstrip. It was a little tricky making the turn into the driveway.
Andy Cockrell of Cockrell's
Marine Railway did a fine job maneuvering in tight spaces.
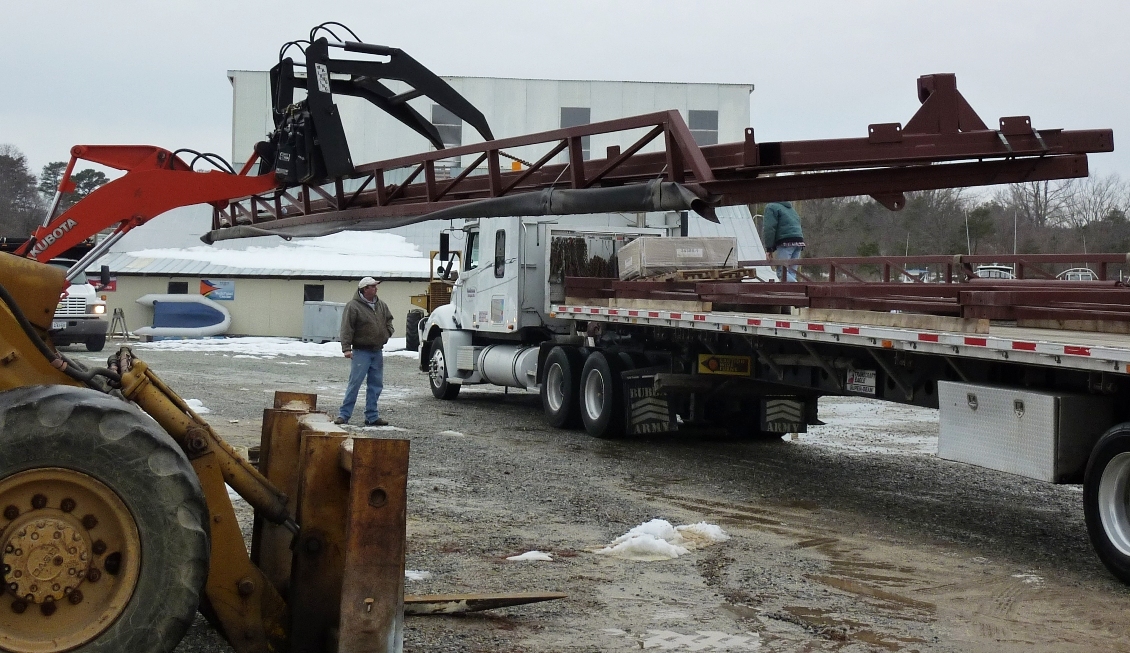
February 4, 2010. A
big day as the door arrives. This is a 42'x12' door. The two
42 foot long sections will bolt together to form a one piece door that operates
hydraulically. With heavy truck access to the airstrip limited because of
melting snow and soft ground, we made the decision to offload the door at the
nearby marina. Once conditions permit, the door will be be moved to the
airstrip on a smaller trailer.
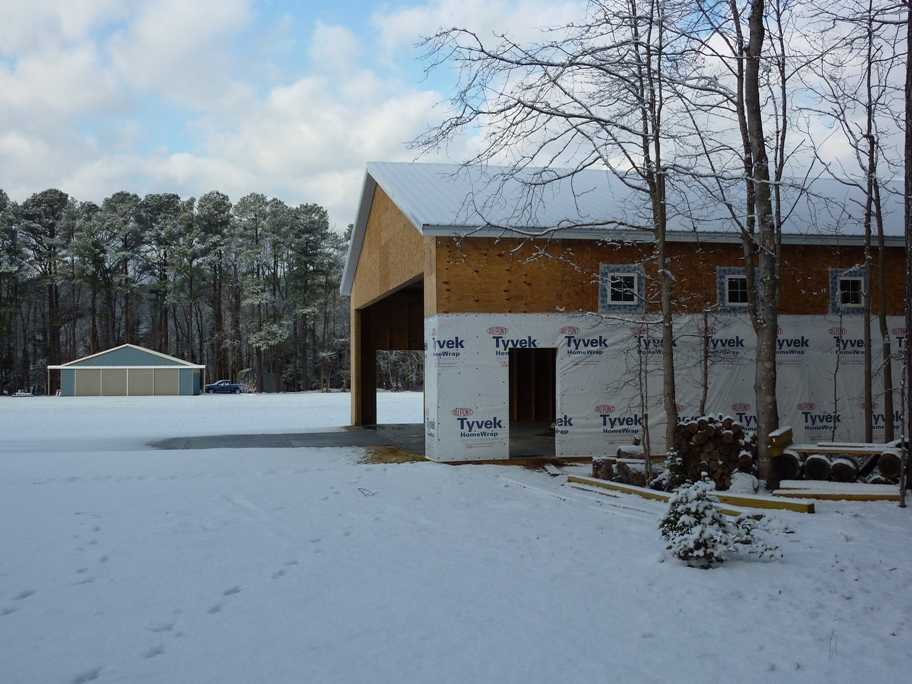
February 1, 2010.
Winter strikes again and progress slows. We had at least 12 inches of snow
on the ground by the end of the day on January 30th, unusual for this part of Virginia.
I installed some of the overhead fluorescent
light fixtures that you can see here. I chose to go with T-8 fixtures for energy
efficiency. I used only nine overhead fixtures (four 48" tubes in
each fixture) which has proved to be more than adequate. Outlets are
installed on the east and west walls.
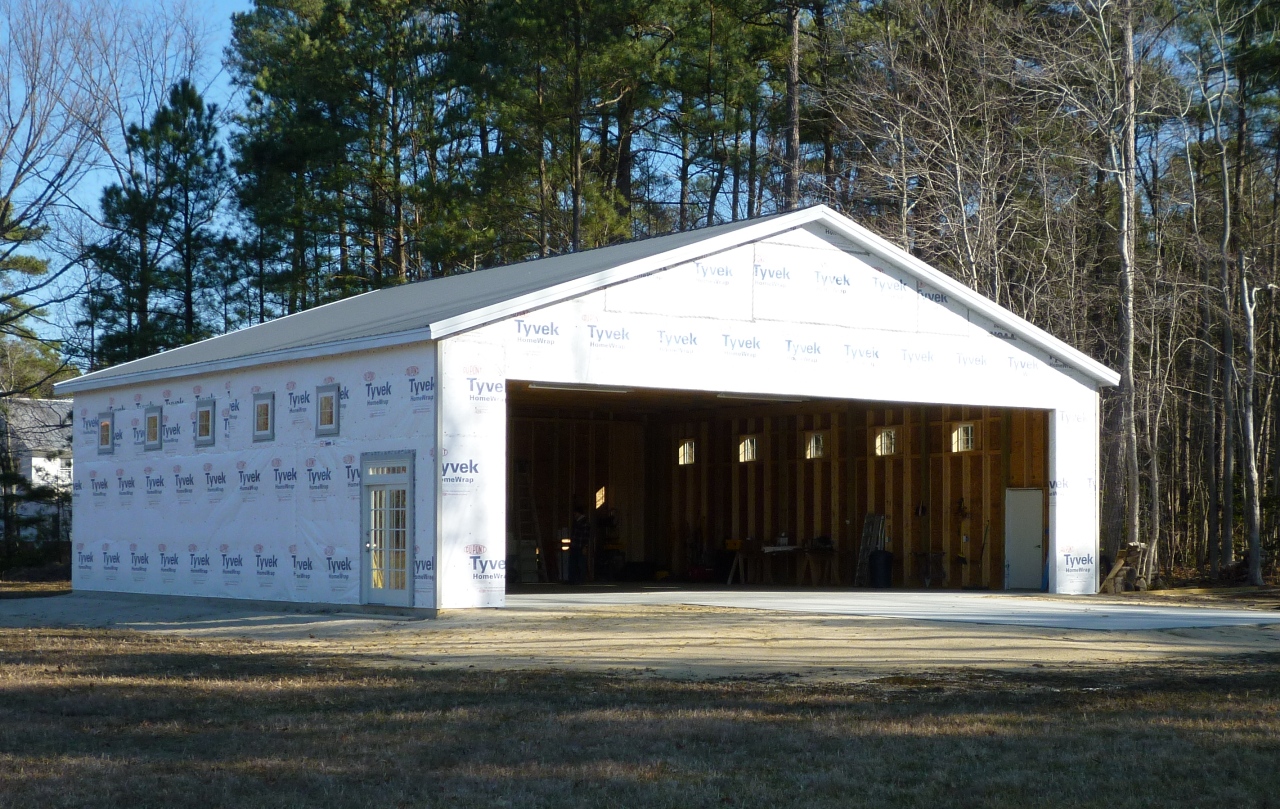
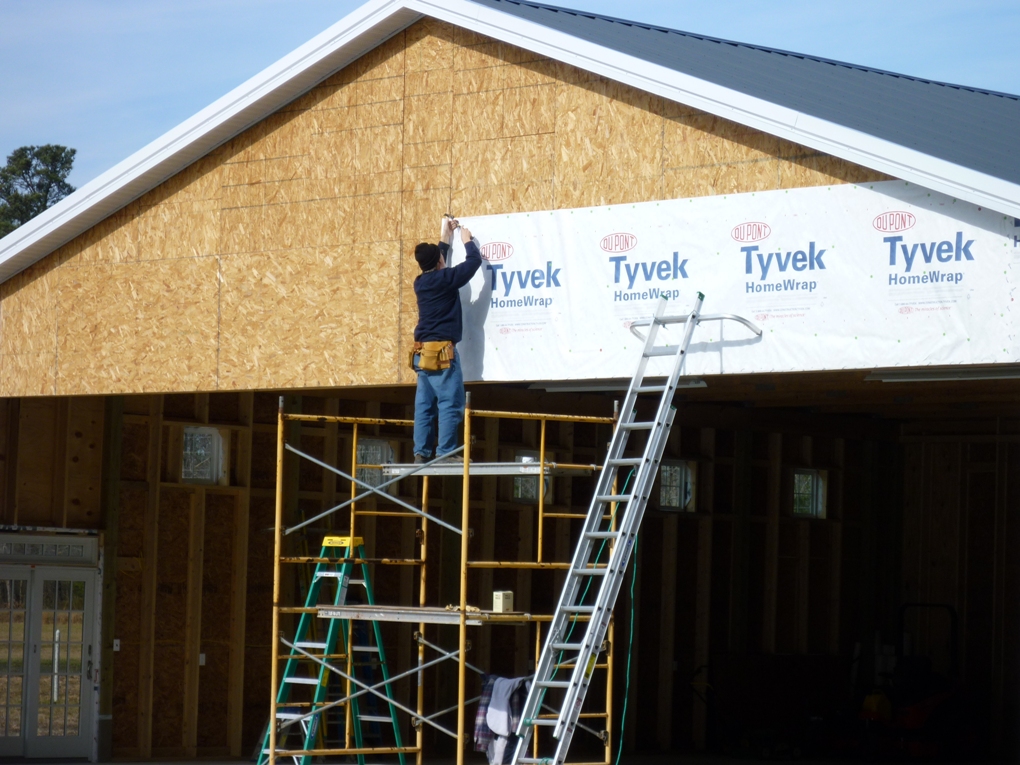

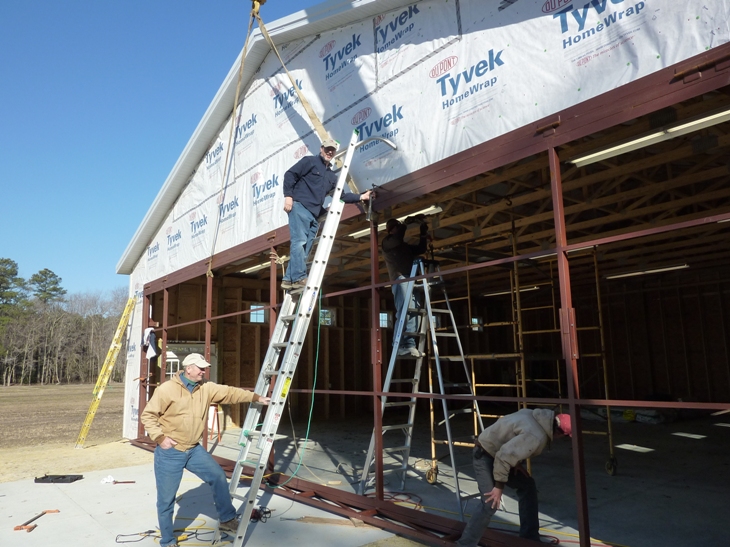
January 27, 2010.
Today we finished installing the Tyvek on the gable wall above the main door.
Scaffolding and long ladders are necessary tools. Up on the ladders with
me was my "most able assistant," best friend, and partner of more than 30 years,
wife Sukey. Earlier in the week, I added some internal cross bracing to
strengthen the door opening, and also made more progress on the electrical
installation.
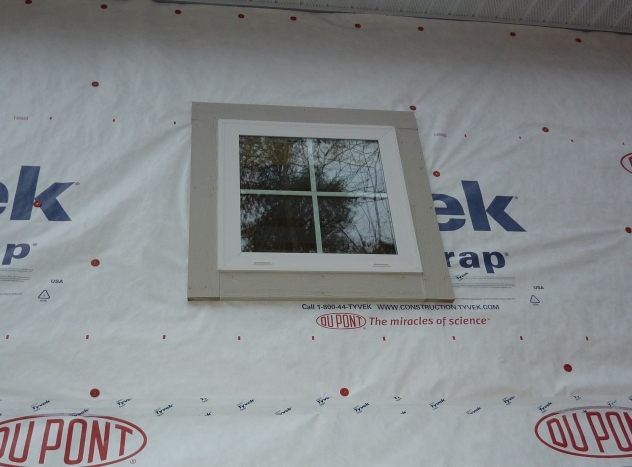
January 20, 2010.
Today I worked on the trim. This included trim around the doors and
windows as well as the corner boards. I'm using a product called
MiraTEC.
These are treated, composite, water resistance trim boards. The same trim
was used on the house.
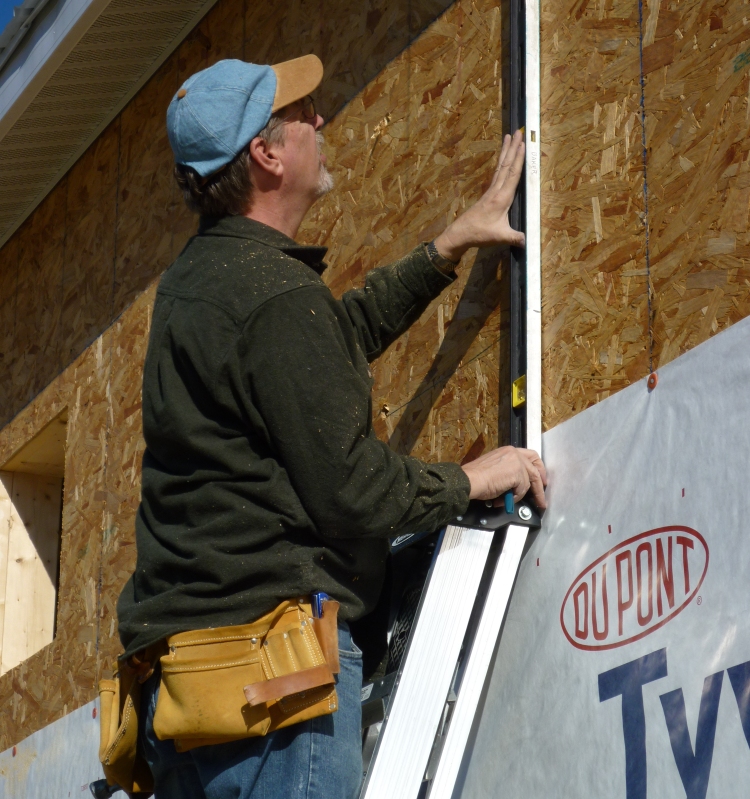
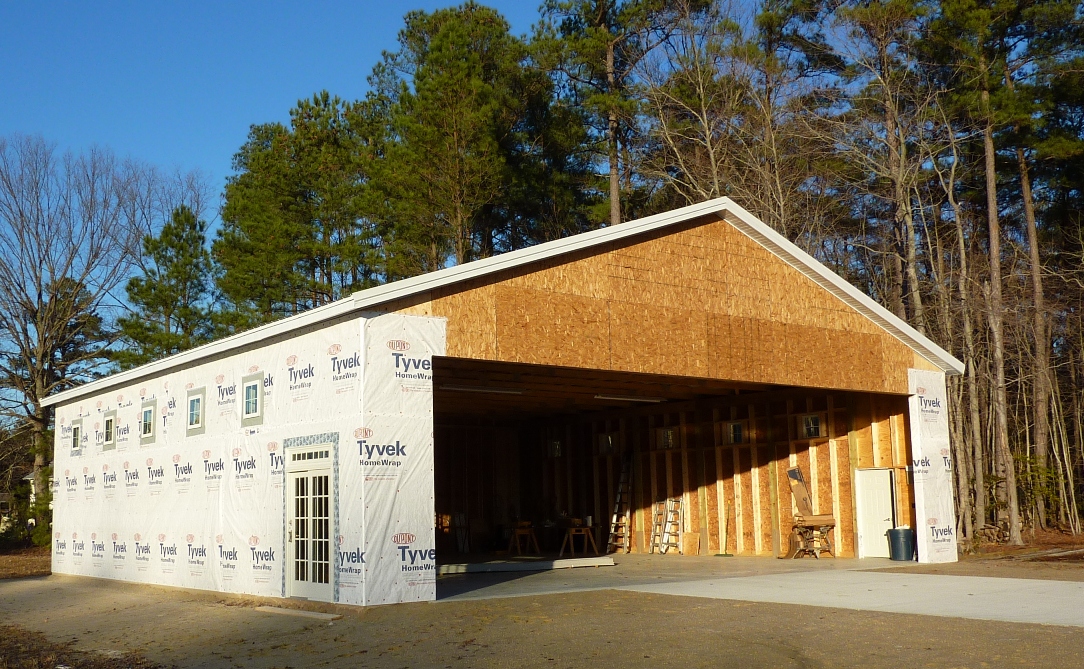
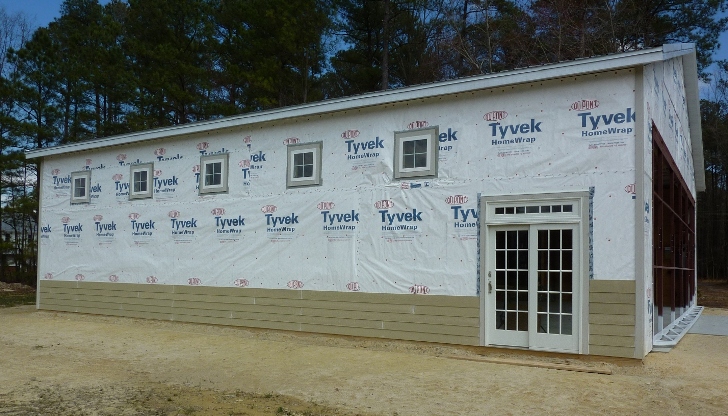
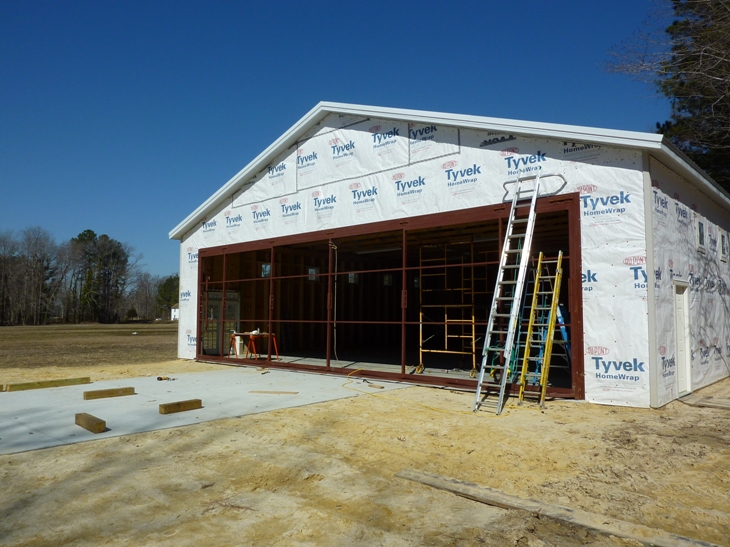
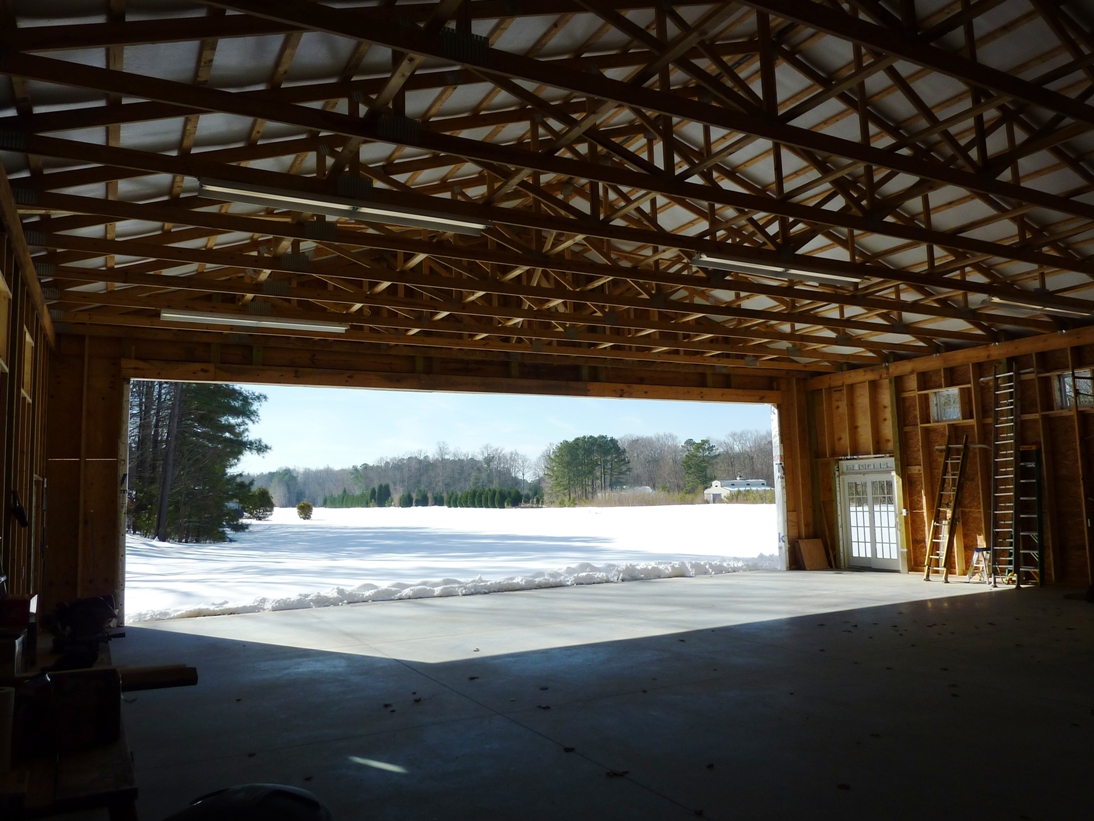
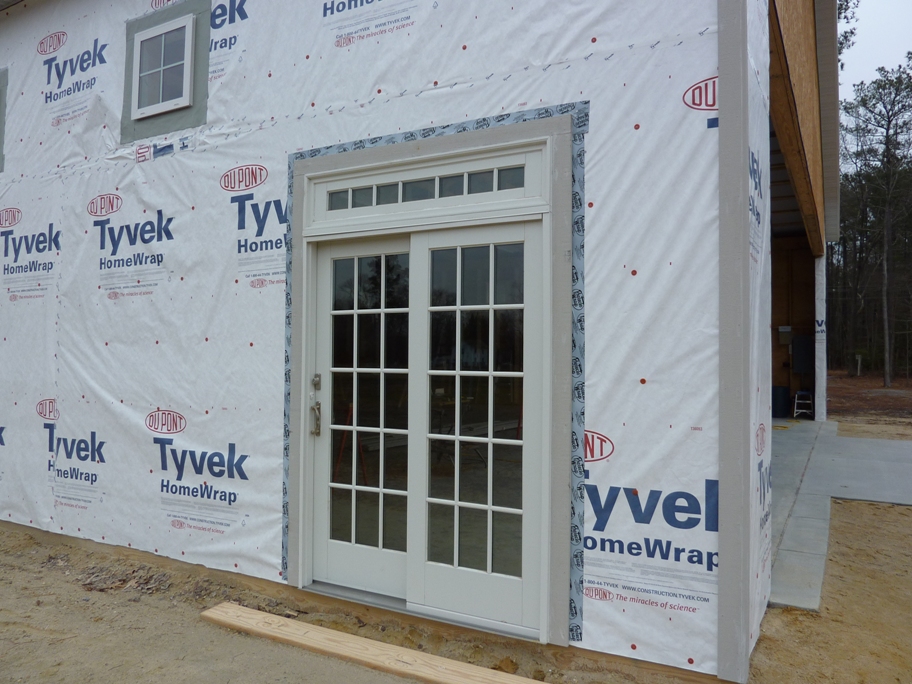
January 18, 2010. If I were a carpenter.... Here
I'm taking advantage of an unseasonably warm day in January to mark the openings
and cut the sheathing for the windows. In the second photo, more
progress on the Tyvek housewrap, all windows and walk doors are installed. The
Andersen Frenchwood sliding door with transom window was originally installed on the house, but was
removed when we changed the design. I decided to recycle it for the
hangar.
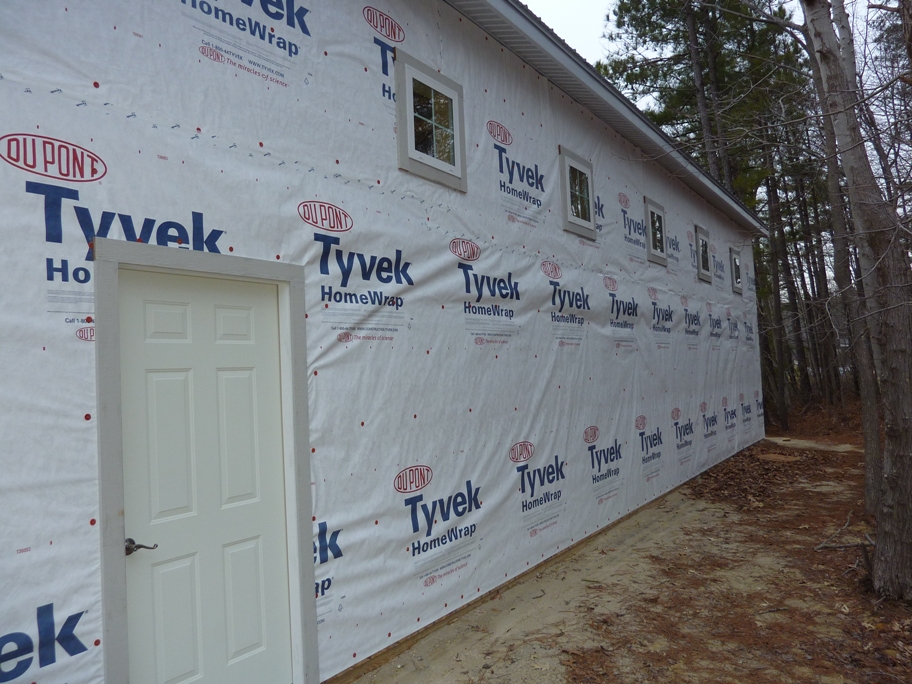
January 8, 2010. A
cold snap on the US East Coast has slowed work on the hangar project. With
temperatures in the teens, outdoor work is uncomfortable, so I have shifted work
back to finishing details on the house. Before the snow, we had a few good days.
My wife Sukey helped me install some of the Tyvek house wrap. Still lots
more to go. I installed and flashed the third of ten windows. The windows
are fixed panel, double pane vinyl units by Atrium.
For earlier photos from
2009 that begin with the groundbreaking, click on the
Hangar Project 2009 Archive Page.
Back
to the Hangar 9 Aeroworks Main Page
|
